Quickstart
Set up your account and start using Phase to manage your application secrets in just a few minutes. This guide will walk you through the following:
- Create a new account on the Phase Console
- Create an App
- Link the Phase CLI it to your local project and import Secrets
- Inject secrets to your app at runtime
1. Login and create an Organisation
You can login to the Phase Console with email and password, or via SSO with Google, GitHub or GitLab.
Setup your account and create an Organisation.
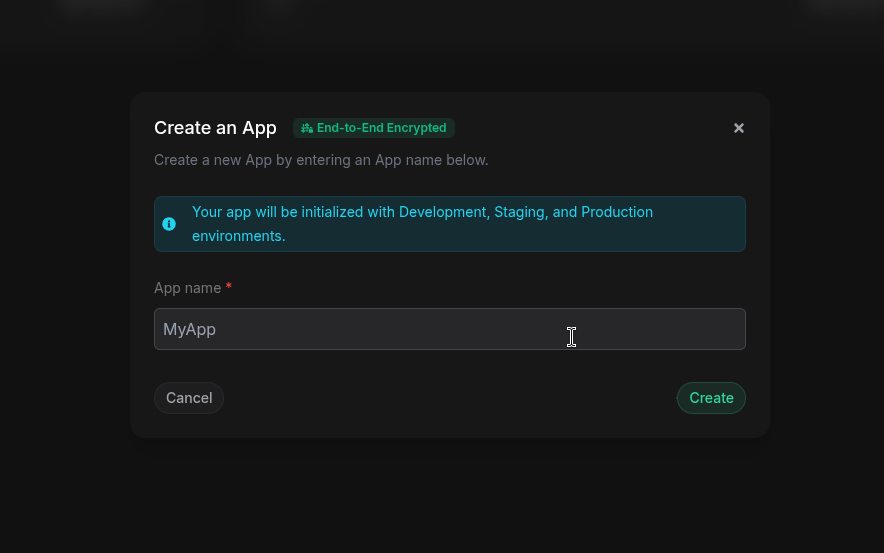
1.1 Create an App
In order to use Phase with your application, you'll need to create an App.
Enter a suitable name for your App, such as Click "Create".
2. Install the CLI
Next, install the Phase CLI on the platform or operating system of your choice.
brew tap phasehq/cli && brew trust phasehq/cli
brew install phase
2.1 Authenticate the CLI
Once the CLI is installed, you need to authenticate it with your Phase account and App.
Run phase auth and choose the "Phase Cloud" option:
» phase auth
? Choose your Phase instance type: (Use arrow keys)
 » ☁️ Phase Cloud
   🛠️ Self Hosted
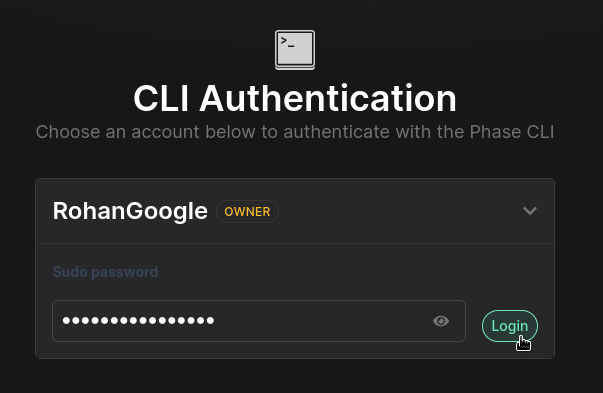
This will open the Phase Console in a new tab. Enter your sudo password when prompted.
Once completed, you should see the success screen:
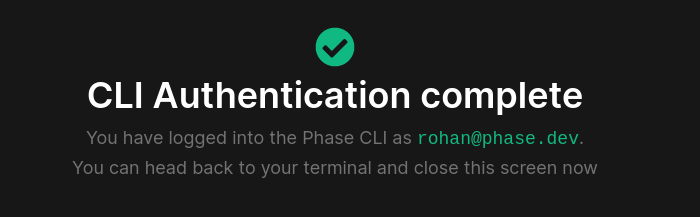
Go back to your terminal. You should see the following:
✅ Authentication successful. Credentials saved in the Phase keyring.
🎉 Welcome to Phase CLI!

─────────────────────────────────────────────────────────────────────────────────────────────────────────────────────────────
🙋 Need help?: https://slack.phase.dev
💻 Bug reports / feature requests: https://github.com/phasehq/cli
2.2 Link your project with Phase
Lastly, run phase init and select 'TestApp' or the name of the App you created.
»  phase init
? Select an App: (Use arrow keys)
 » TestApp
   Landing page
   Exit
2.3 Import your secrets into Phase - Optional
Next, import your secrets from your .env file.
cat .env

HOST=localhost
HTTP_PROTOCOL=https://
# WARNING: Replace these with a cryptographically strong random values. You can use `openssl rand -hex 32` to generate these.
SECRET_KEY=92d44efc4f9a4c0556cc67d2d033d3217829c263d5ab7d1954cf4b5bfd533e58
SERVER_SECRET=9e760539415af07b22249b5878593bd4deb9b8961c7dd0570117549f2c4f32a2
# OAuth providers to enable on sign-in page (remove any that aren't required)
# Example: SSO_PROVIDERS=google,github,gitlab
SSO_PROVIDERS=google,github,gitlab
# Database credentials. Change all these values as required, except DATABASE_HOST
DATABASE_HOST=postgres # don't change this
DATABASE_PORT=5432
DATABASE_NAME=postgres-db-name
DATABASE_USER=postgres-user
DATABASE_PASSWORD=a765b221799be364c53c8a32acccf5dd90d5fc832607bdd14fccaaaa0062adfd
REDIS_HOST=redis
REDIS_PORT=6379
REDIS_PASSWORD=
NEXT_TELEMETRY_DISABLED=1
Run phase secrets import .env
»  phase secrets import .env
Successfully imported and encrypted 23 secrets.
To view them please run: phase secrets list
Once done, remove your .env file, as it is best practice not to leave secrets in plain text on disk:
rm .env
Alternatively, you can import your secrets by dragging and dropping your .env file into the App's Secrets tab or a specific environment in the Phase Console. This may be more suitable if you want to quickly import secrets from your .env file across multiple environments.
3. Inject secrets
To inject secrets locally into your application, simply prefix the normal command you would use with
phase run [command]

# Start node dev server
phase run yarn dev

# Chaining multiple commands together
phase run "printenv | grep AWS_ACCESS_KEY_ID"
For example, instead of yarn dev, simply run phase run yarn dev. Your secrets will be decrypted and injected into your application process at runtime, and you can access them in your code as usual.
Next steps
Now that you have setup your account and connected it to your local project, you can explore all that Phase has to offer.