Hashicorp Vault
You can use Phase to sync secrets to your Hashicorp Vault instance.
Prerequisites
- Vault CLI
- Hashicorp Vault instance (self-managed or Hashicorp Cloud)
When secret syncing is enabled, secrets stored inside Phase will be treated as the source of truth. Any secrets on the target service will be overwritten or deleted. Please import your secrets into Phase before continuing. For guidance, see: Import secrets from your HashiCorp Vault instance
Step 1: Create a new KV Secrets Engine in Vault (KV v2)
Create a Namespace (optional):
vault namespace create phase-console-namespace
Example:
λ vault namespace create phase-console-namespace
Key                Value
---                -----
custom_metadata    map[]
id                 jtrH2
path               admin/phase-console-namespace/
Switch to the Namespace (optional):
export VAULT_NAMESPACE=admin/phase-console-namespace
1. Enable Secrets Engine:
To enable a KV v2 secrets engine at a specific path (phase-console-kv-sync in this case), use the following command:
vault secrets enable -path=phase-console-kv-sync -version=2 kv
Step 2: Setting Up AppRole Authentication and ACL Policy
- Create the Policy File:
Write your policy in a file named
my-policy.hcl. You can do this using a text editor of your choice. Here's the content formy-policy.hcl:
path "phase-console-kv-sync/*" {
  capabilities = ["create", "read", "update", "delete", "list"]
}

path "phase-console-kv-sync/metadata/*" {
  capabilities = ["list", "delete"]
}
- Apply the Policy Using the CLI:
Once you have created
my-policy.hclwith the desired policy definitions, use the following Vault CLI command to apply the policy:
vault policy write phase-console-kv-sync-policy my-policy.hcl
In this command, phase-console-kv-sync-policy is the name of the policy you are creating/updating, and my-policy.hcl is the file that contains your policy definitions.
- Enable AppRole Authentication:
vault auth enable approle
- Create AppRole with Policy:
vault write auth/approle/role/phase-console-kv-sync-approle \
 token_policies="phase-console-kv-sync-policy" \
 token_ttl=15m \
 token_max_ttl=1h
- Retrieve Role ID and Secret ID:
- To get the Role ID:
vault read auth/approle/role/phase-console-kv-sync-approle/role-id
- To generate a Secret ID:
vault write -f auth/approle/role/phase-console-kv-sync-approle/secret-id
Example Output:
vault read auth/approle/role/phase-console-kv-sync-approle/role-id
Key        Value
---        -----
role_id    b9060a13-6222-f41f-8c4b-e55a2c6bef43 👈

vault write -f auth/approle/role/phase-console-kv-sync-approle/secret-id
Key                   Value
---                   -----
secret_id             83e3a891-1b0e-7ce4-d5c9-629b9bccc9d7 👈
secret_id_accessor    9f4abc28-5579-2105-9958-538fe491a42a
secret_id_num_uses    0
secret_id_ttl         0s
Optional: Import existing secrets from Hashicorp Vault in Phase
- List secrets
vault kv list -namespace="admin/your-namespace" -format=json "your-secret-path"
Example output:
[
  "SECRET_KEY_1",
  "SECRET_KEY_2",
  "SECRET_KEY_3",
  "SECRET_KEY_4",
  "SECRET_KEY_5",
  "SECRET_KEY_6",
  "SECRET_KEY_7",
  "SECRET_KEY_8",
  "SECRET_KEY_9"
]
- Export secrets to a
.envfile
Requires: jq, xargs
List all secrets your your path, fetch them and write them to a .env file.
vault kv list -namespace="admin/your-namespace" -format=json "your-secret-path" | jq -r '.[]' | \
 xargs -I {} vault kv get -namespace="admin/your-namespace" -format=json "your-secret-path/{}" | \
 jq -r '.data.data | to_entries | .[] | "\(.key)=\(.value)"' > .env
Example output:
head .env
SECRET_KEY_1=dummy_value_1
SECRET_KEY_2=dummy_value_2
SECRET_KEY_3=dummy_value_3
SECRET_KEY_4=dummy_value_4
SECRET_KEY_5=dummy_value_5
SECRET_KEY_6=dummy_value_6
SECRET_KEY_7=dummy_value_7
SECRET_KEY_8=dummy_value_8
SECRET_KEY_9=dummy_value_9
SECRET_KEY_10=dummy_value_10
- Import secret in Phase via the
phase-cli
phase secrets import .env --env development
- Delete the
.envfile.
rm .env
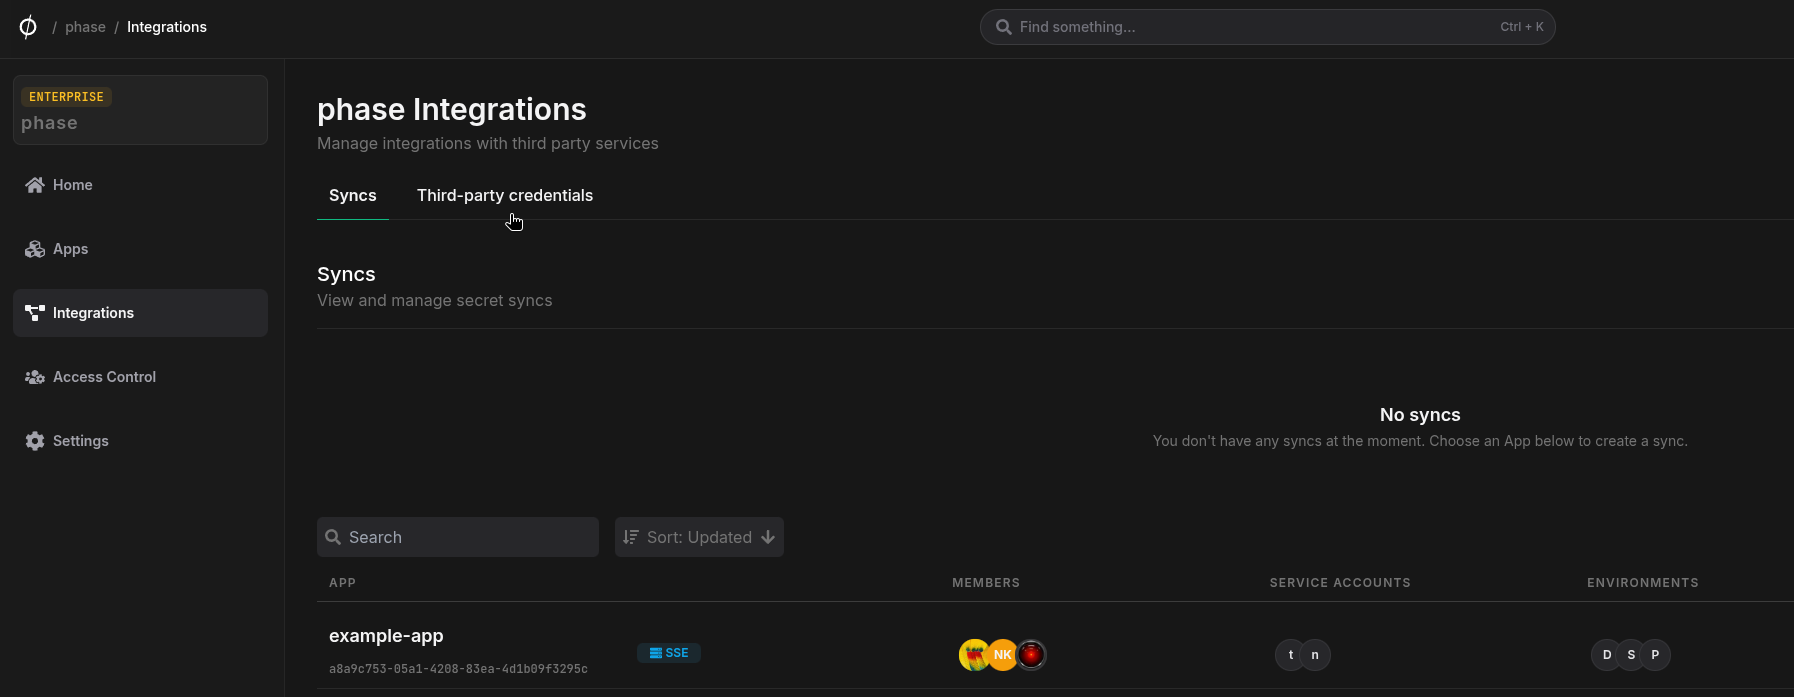
Sync Secrets from Phase
Phase can automatically sync secrets to your Hashicorp Vault instance. First, you need to setup credentials to use for the sync, and then choose a source and destination.
Step 1: Set up your Vault credentials in Phase
Your credentials are kept secure with robust application-layer encryption. Phase encrypts your credentials directly in the browser and only decrypts them in memory to perform sync operations. Your credentials are never stored in plaintext.
-
Create an
role_idandsecret_idvia the Vault CLI. See Step 2 for instructions. -
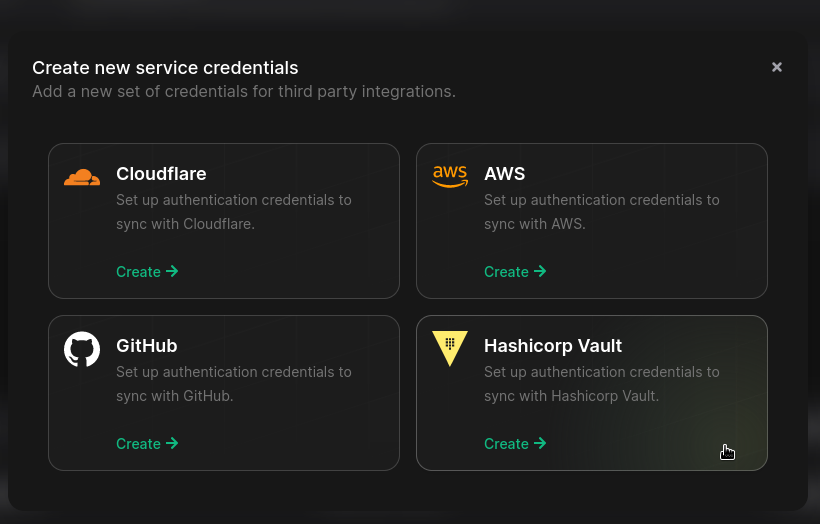
Go to Integrations from the sidebar and click on Add credentials in the 'Service credentials' section
- Click on Hashicorp Vault
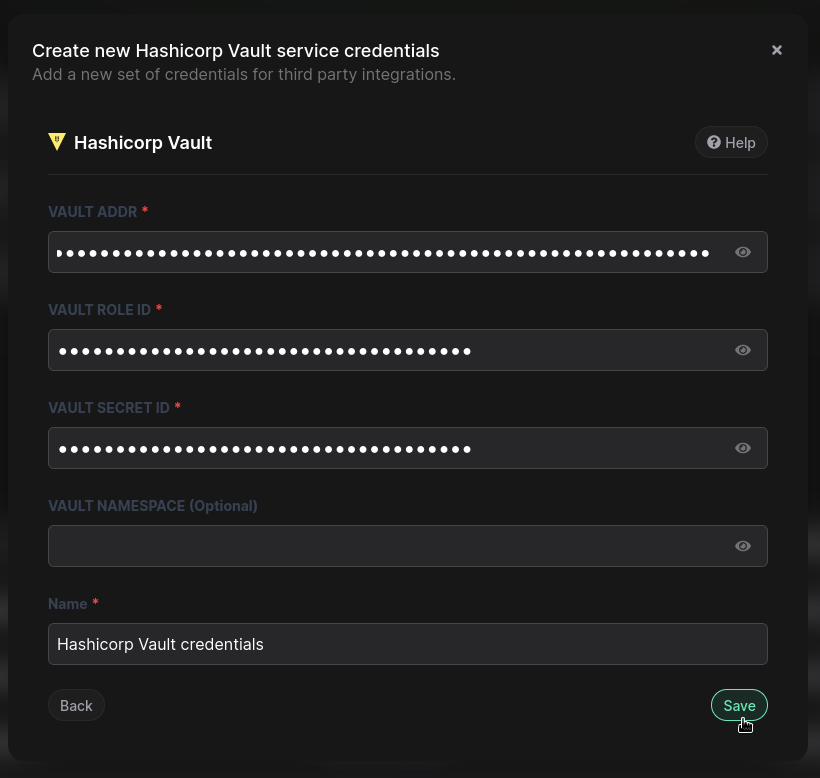
- Enter your vault instance url under
VAULT ADDR. Paste yourrole_idandsecret_idinto theVAULT ROLE IDandVAULT SECRET IDfields respectively.VAULT_NAMESPACEis optional if you would like Secrets to be synced to a custom namespace. Add a descriptive name for these credentials and click Save.
If you are using Hashicorp Cloud Platform (HCP) managed Vault instance you can copy the Public URL by clicking the 📋Public button
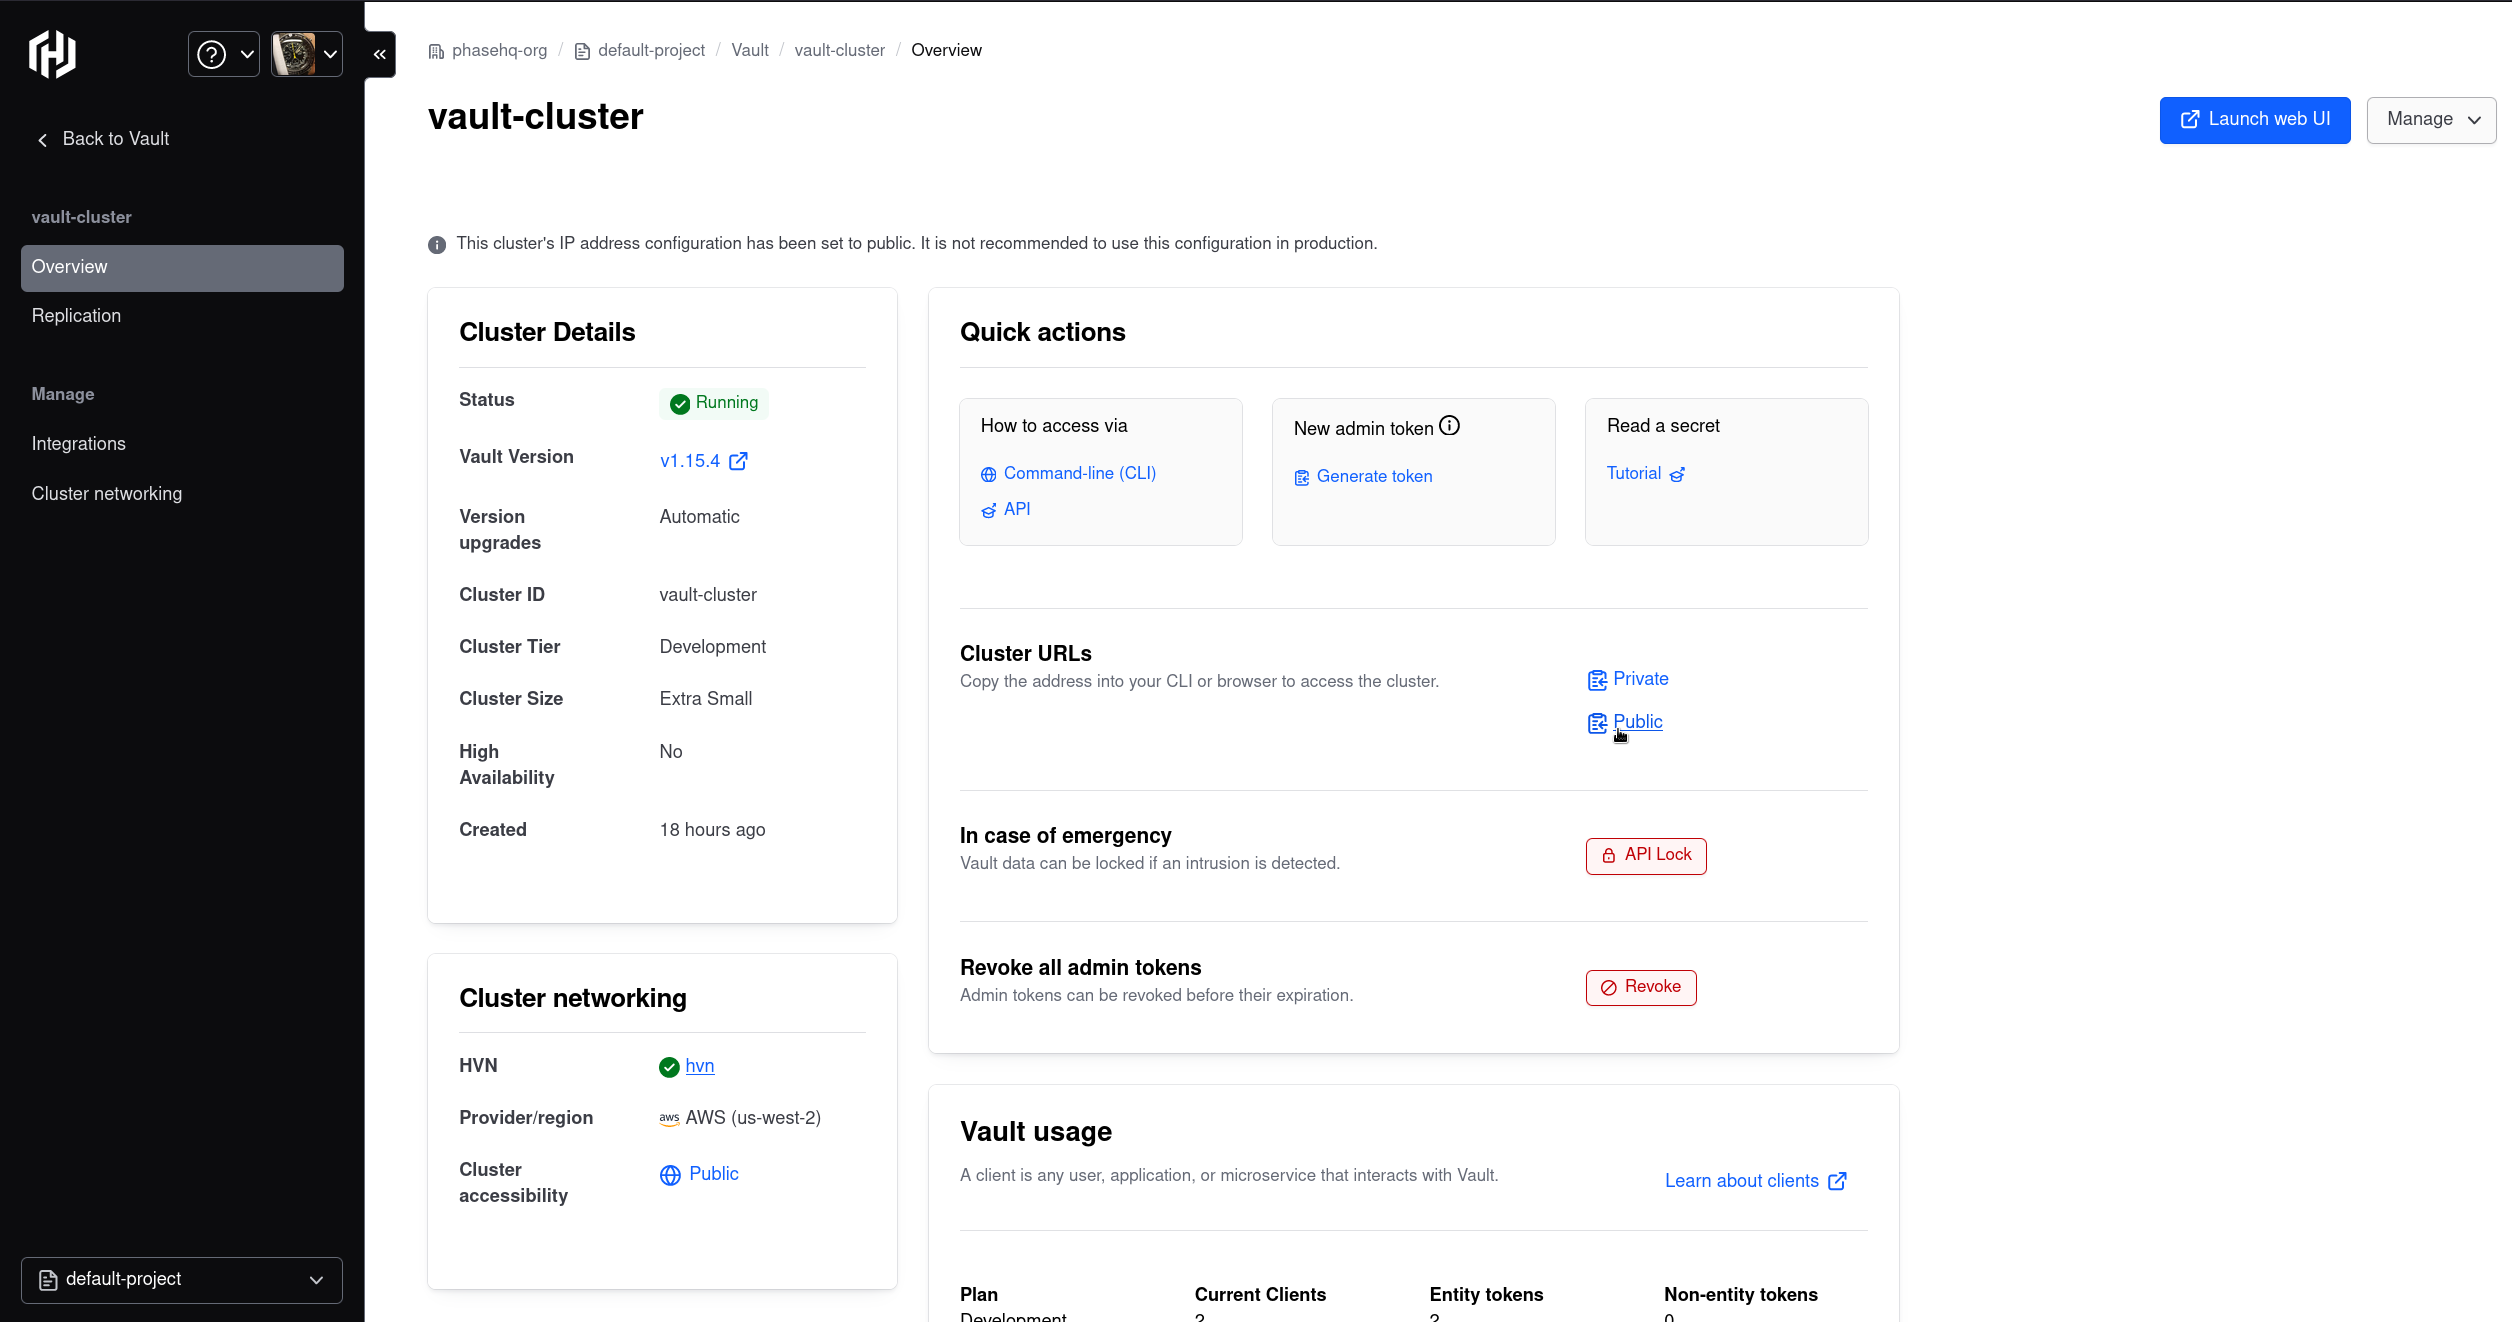
Example: https://vault-cluster-public-vault-gbef9712.627dc7e1.z2.hashicorp.cloud:8200
Step 2: Configure Sync
-
Enable Server-side Encryption (SSE) for the App from the Settings tab if not enabled already.
-
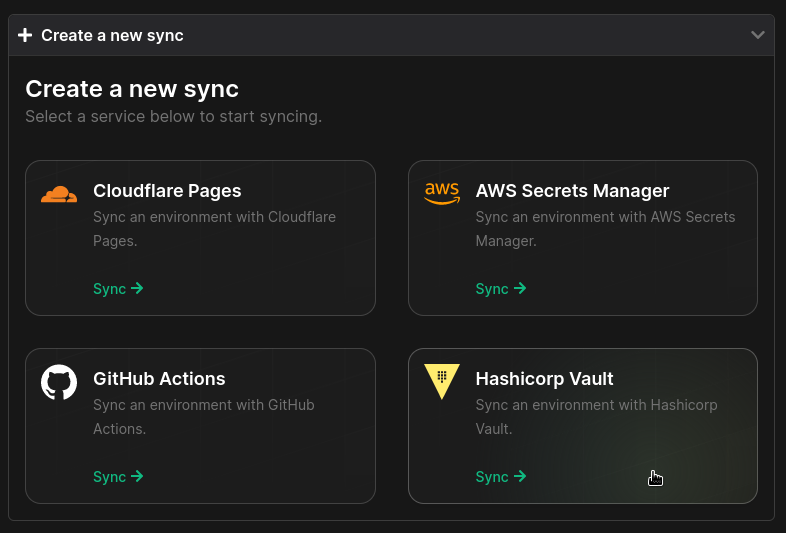
Go to your App in the Phase Console and go to the Syncing tab. Select Hashicorp Vault under the 'Create a new Sync' menu.
- Select the credentials stored in the previous step as the authentication method for this sync, and click Next

If you see an error message and cannot proceed to the next screen, it is most likely an issue with the stored credentials. Verify that you created the Vault credentials correctly, and set the right ACL policies. See Step 2 for instructions. You can update your credentials from the Integrations screen if needed.
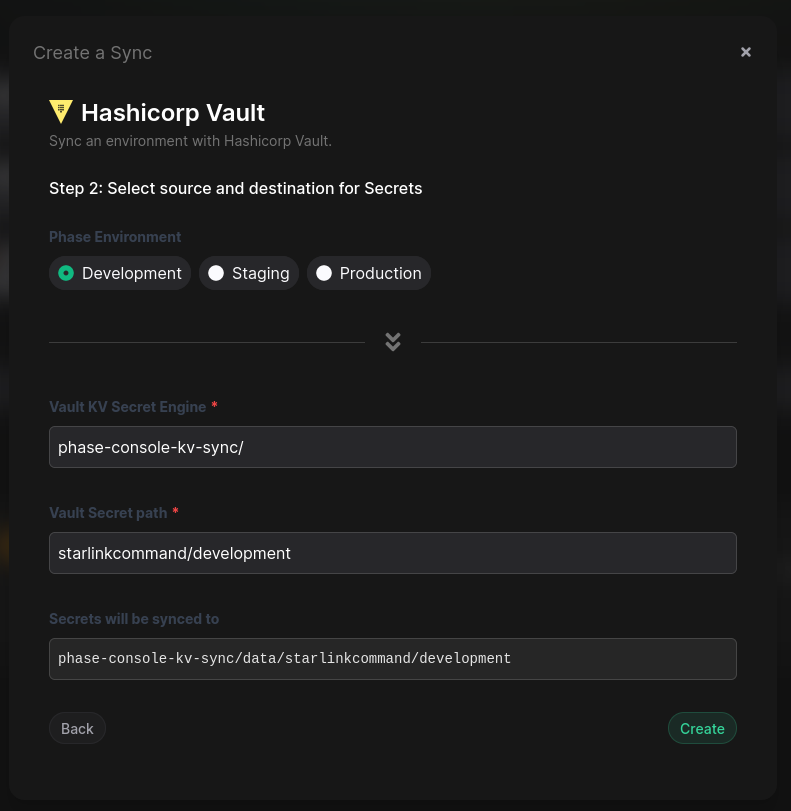
- Choose the source and destination to sync secrets. Select an Environment as the source for Secrets.
The KV engine and path will be pre-filled as the destination for syncing.
Vault KV Secret Engineis prefilled asphase-console-kv-sync/as per the instructions in Step 1. If you used a different name for your KV engine, make sure to update it here. TheVault Secret Pathis prefilled as[app_name]/[env_name]. You can edit this if desired.
- Once you have selected your desired source and destination, click Create. The sync has been set up! Secrets will automatically be Synced from your chosen Phase Environment to your Vault instance. You can click on the Manage button on the Sync card to view sync logs, pause syncing or update authentication credentials.