OAuth 2.0 Single sign-on (SSO)
Follow these steps to set up Google SSO for your Phase application:
-
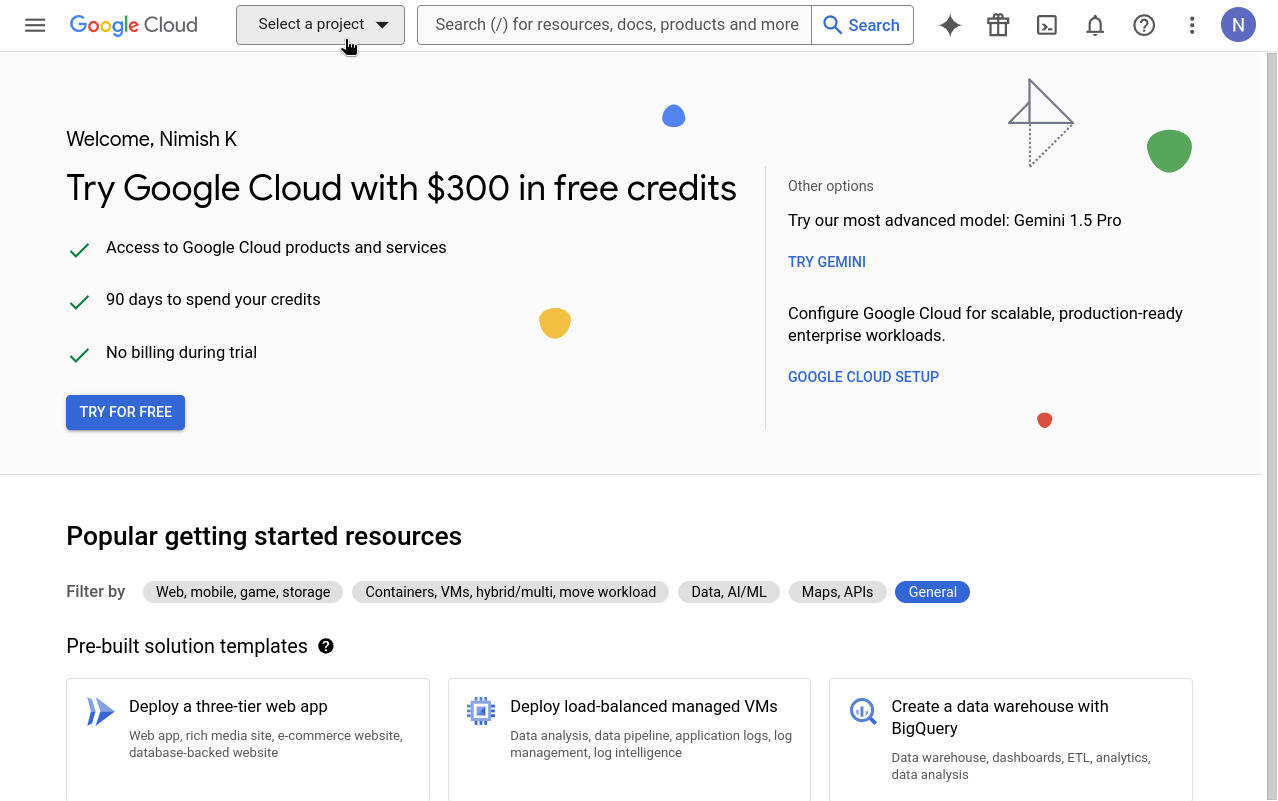
Go to your Google Cloud Platform Console and click the "Select a project" dropdown.
-
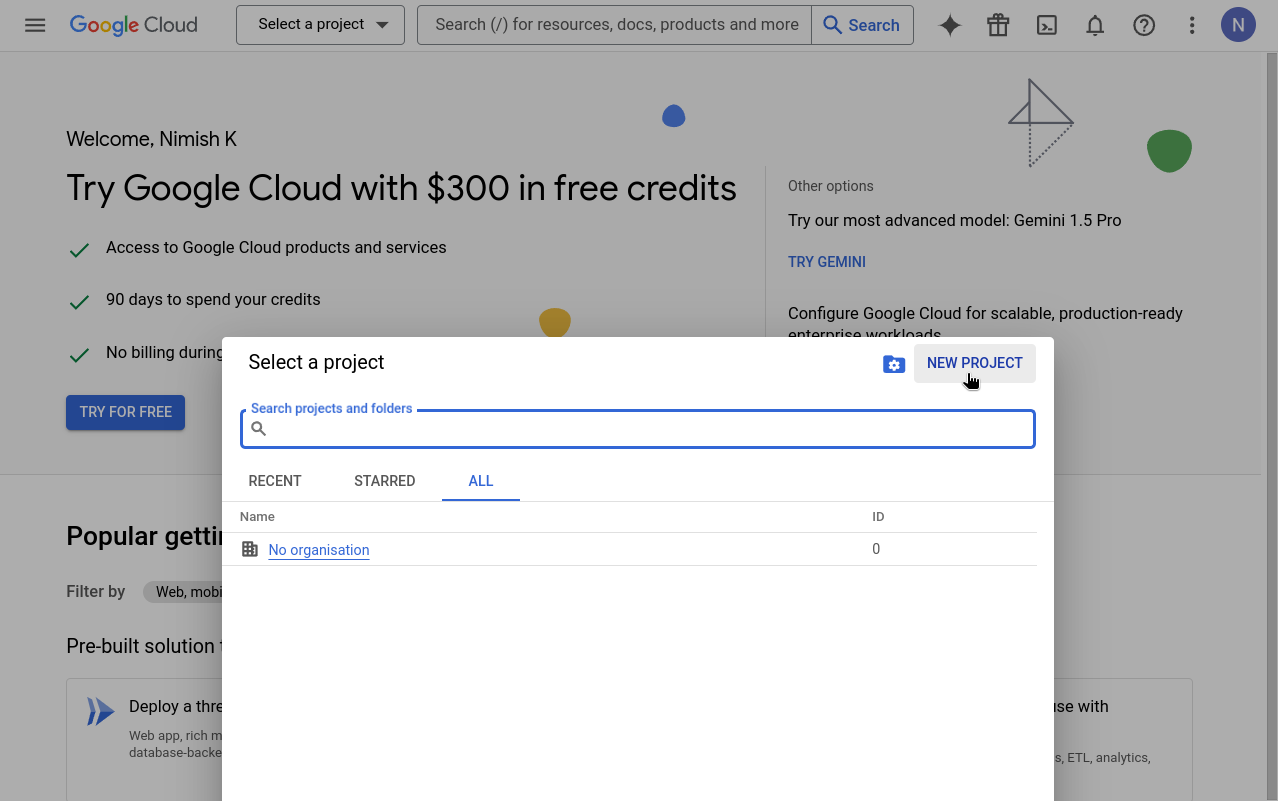
Click "New project". If you already have a project you want to use, select it from the list and skip to step 5.
-
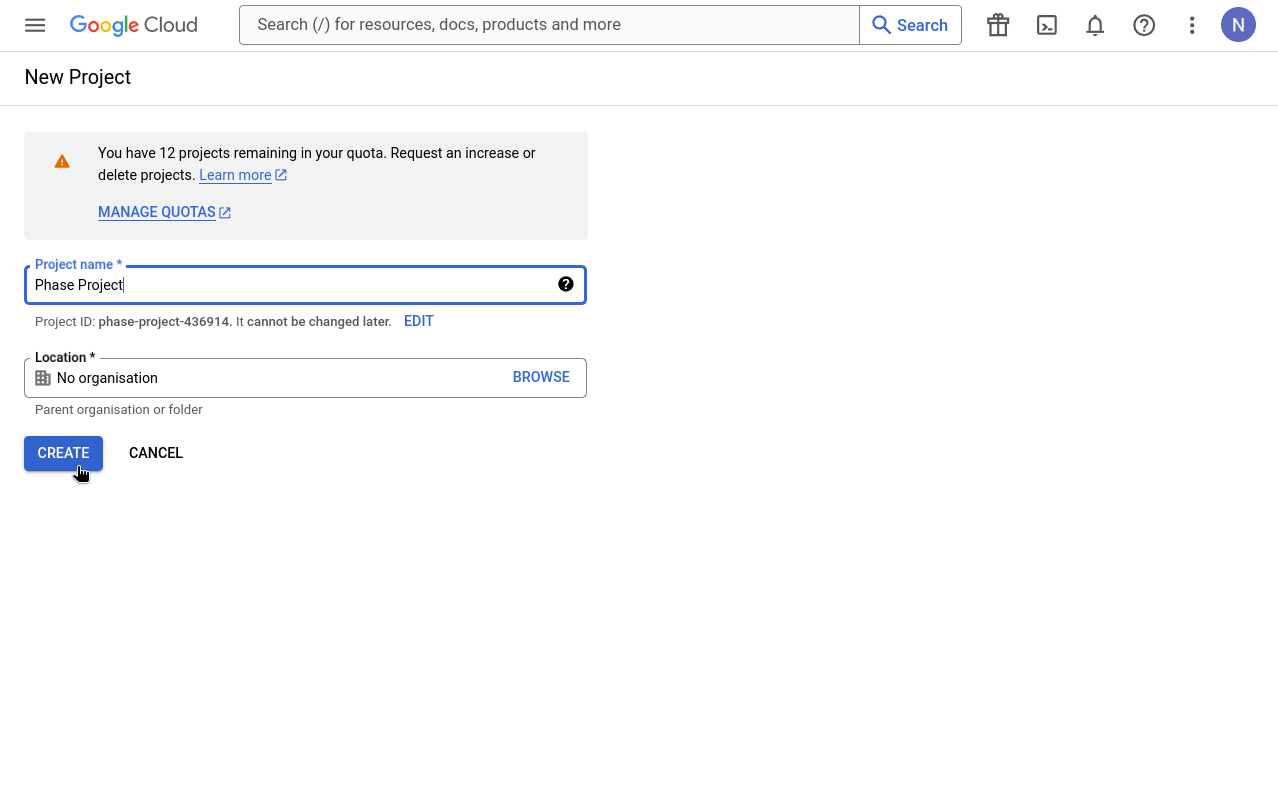
Enter a valid Project Name and click "Create".
-
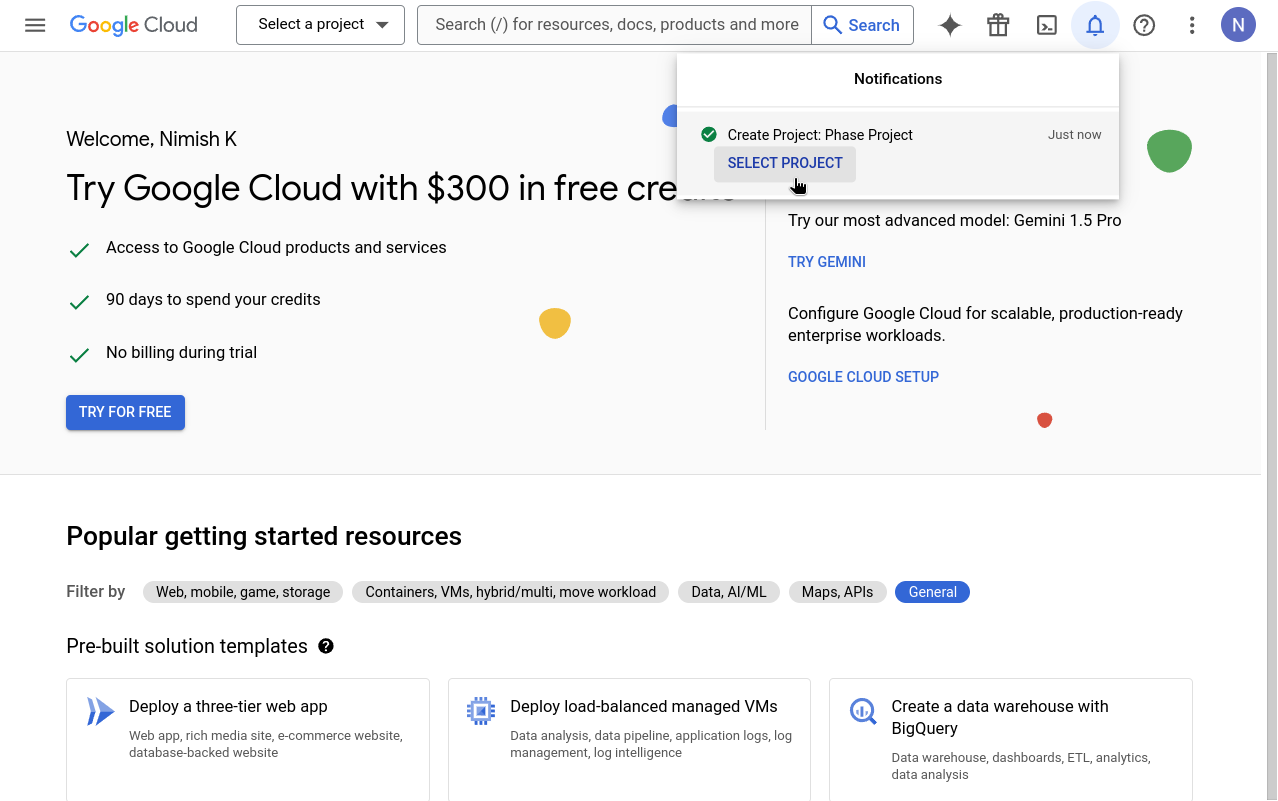
Go to your newly created project by clicking "SELECT PROJECT" from the notifications.
-
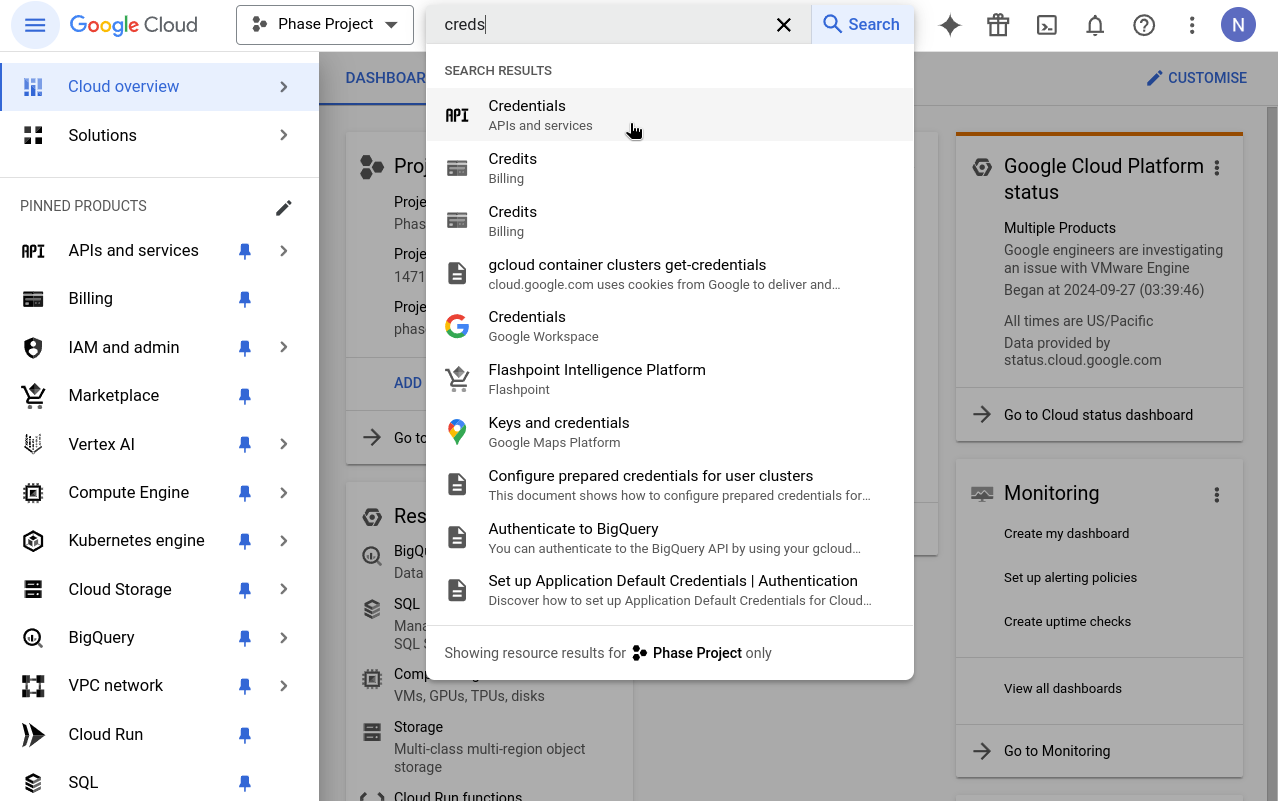
In your console's search box, type 'Credentials' and click on the result that says "Credentials - APIs & Services".
-
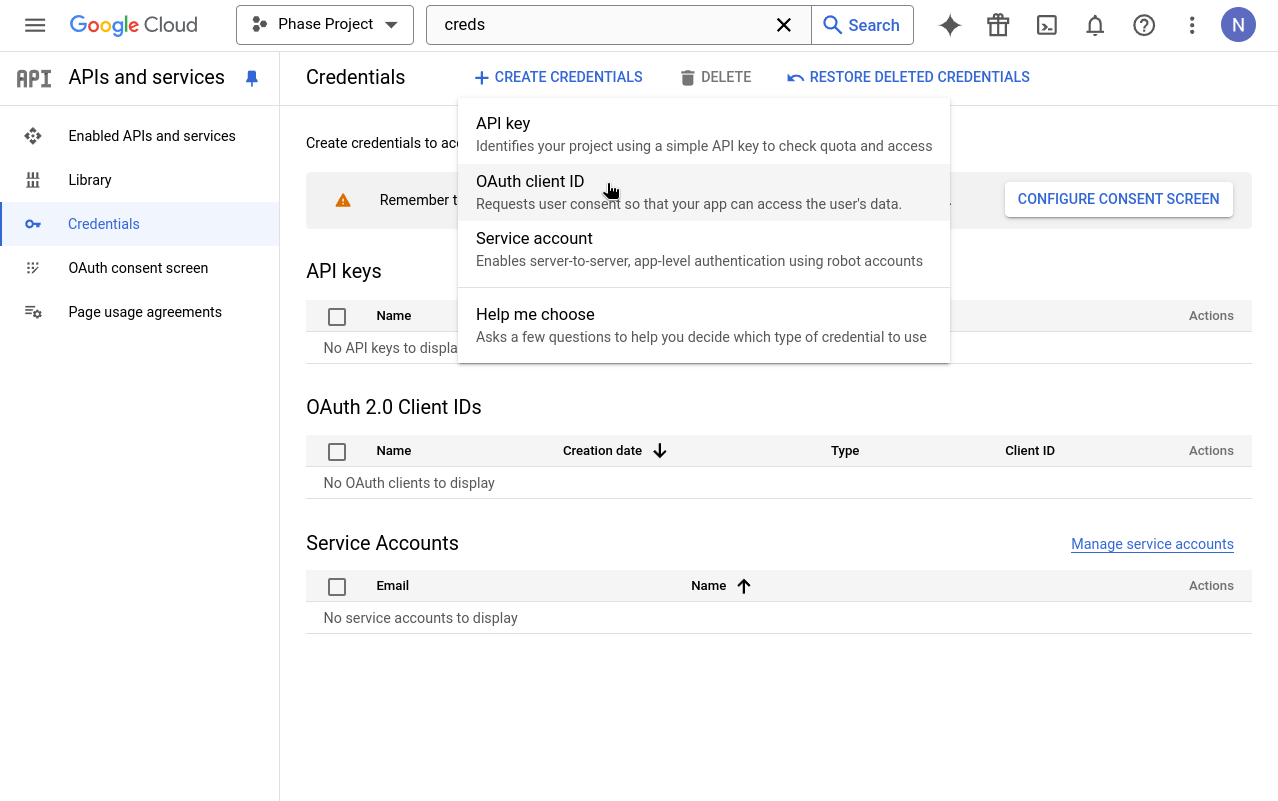
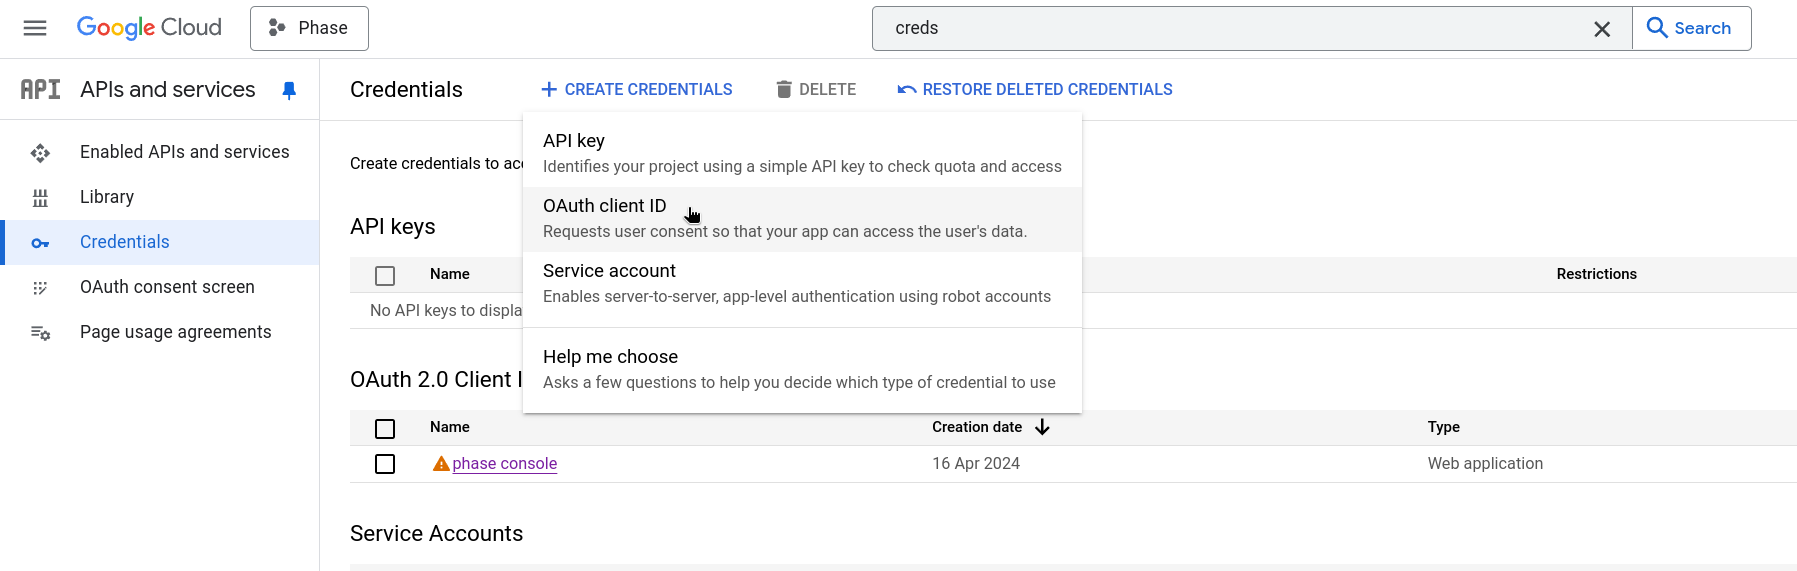
Click on "+ CREATE CREDENTIALS" and select "OAuth client ID". If this is your first time creating an OAuth credential, you'll need to set up a consent screen. If you've already set up a consent screen, skip to Step 13.
-
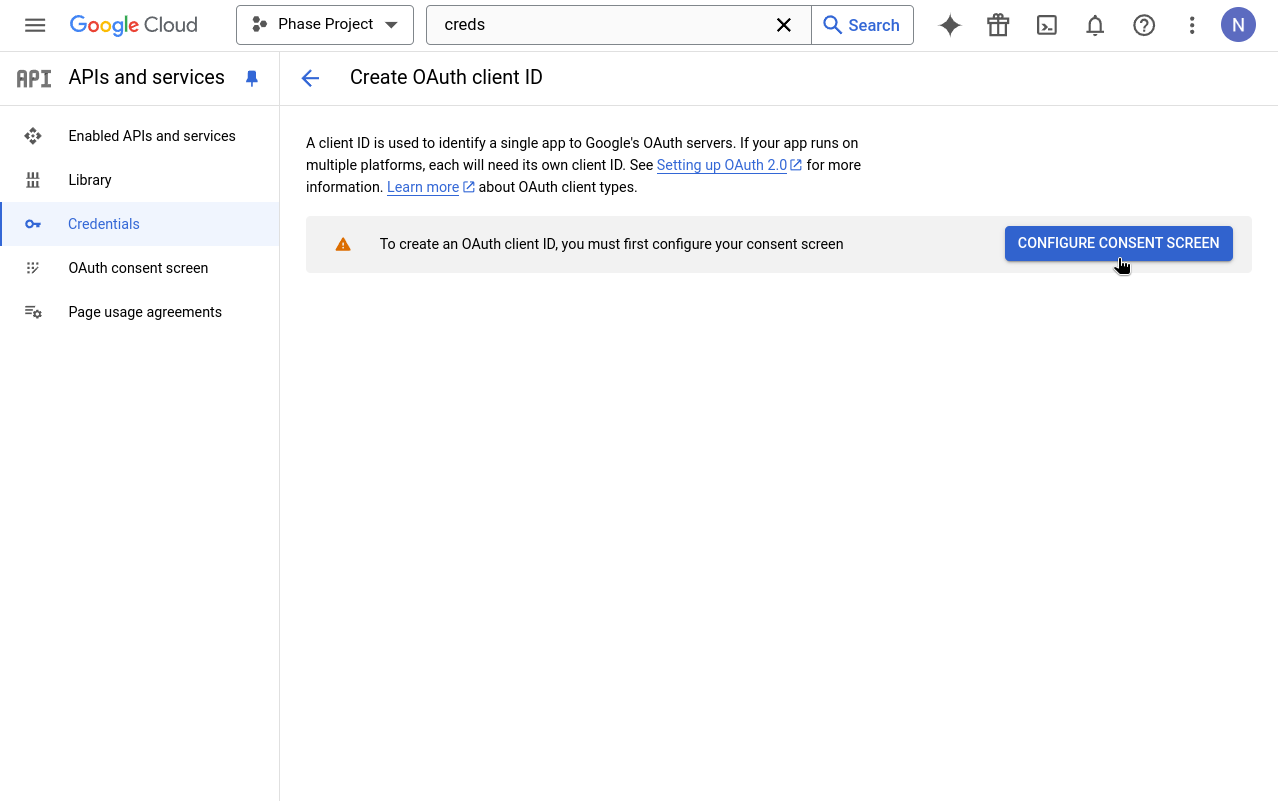
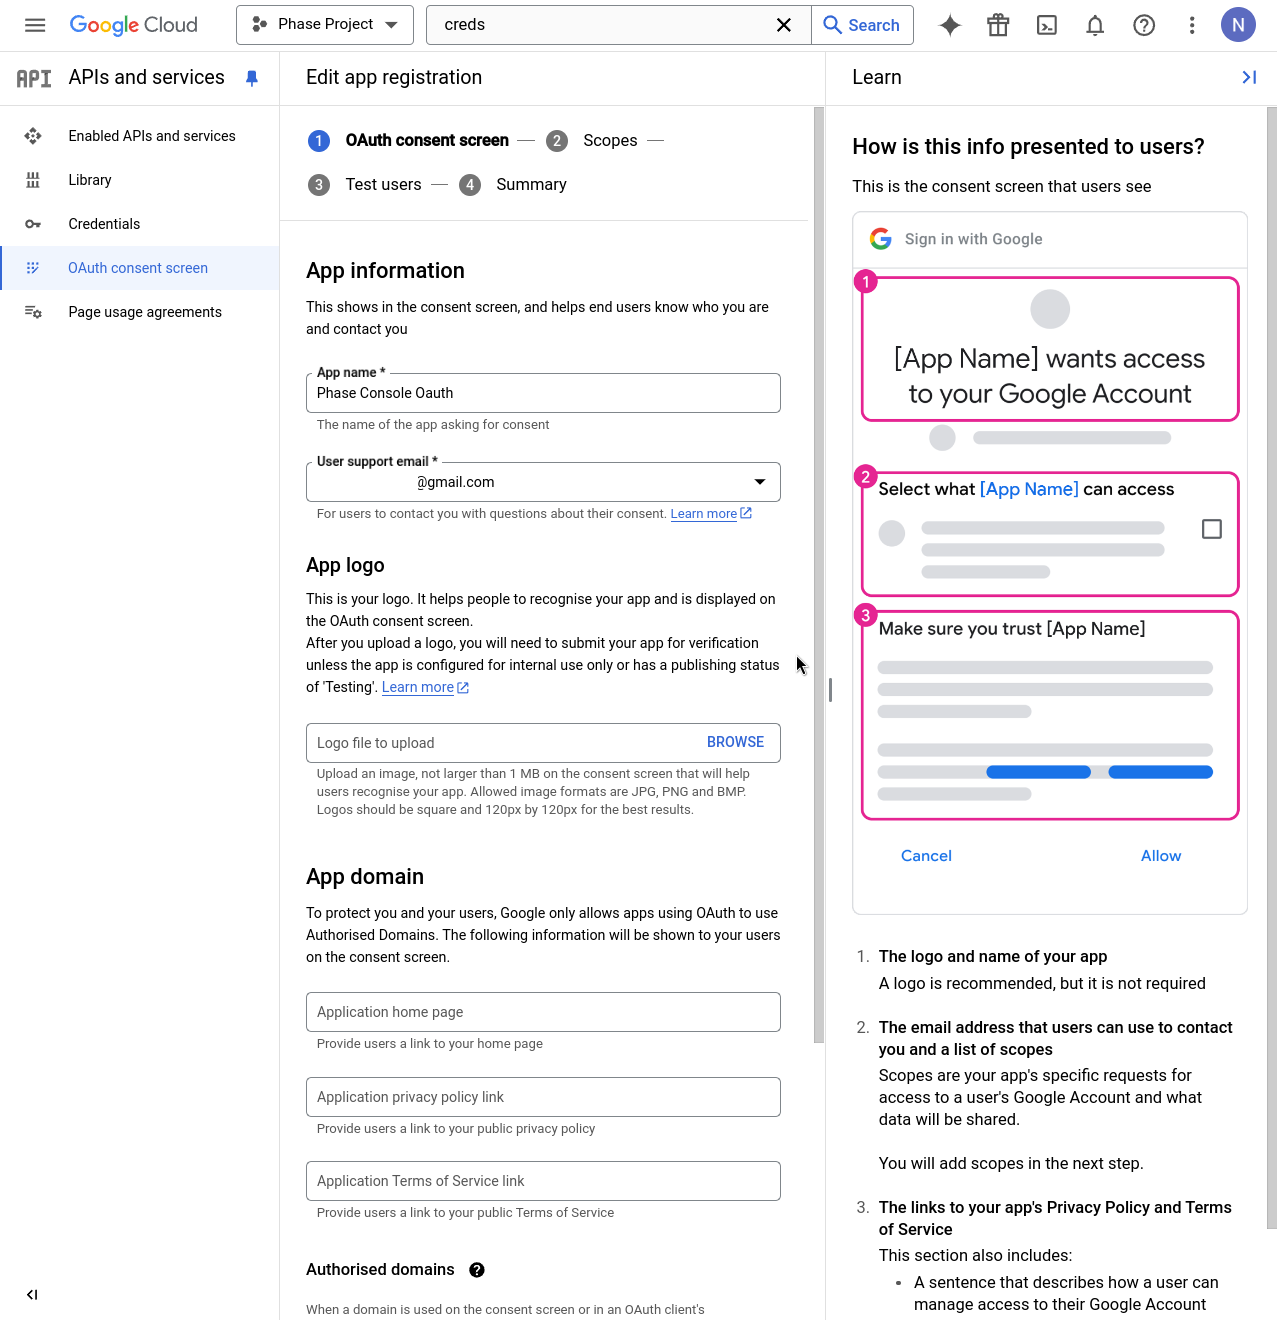
When prompted to configure an OAuth consent screen, click the "CONFIGURE CONSENT SCREEN" button.
-
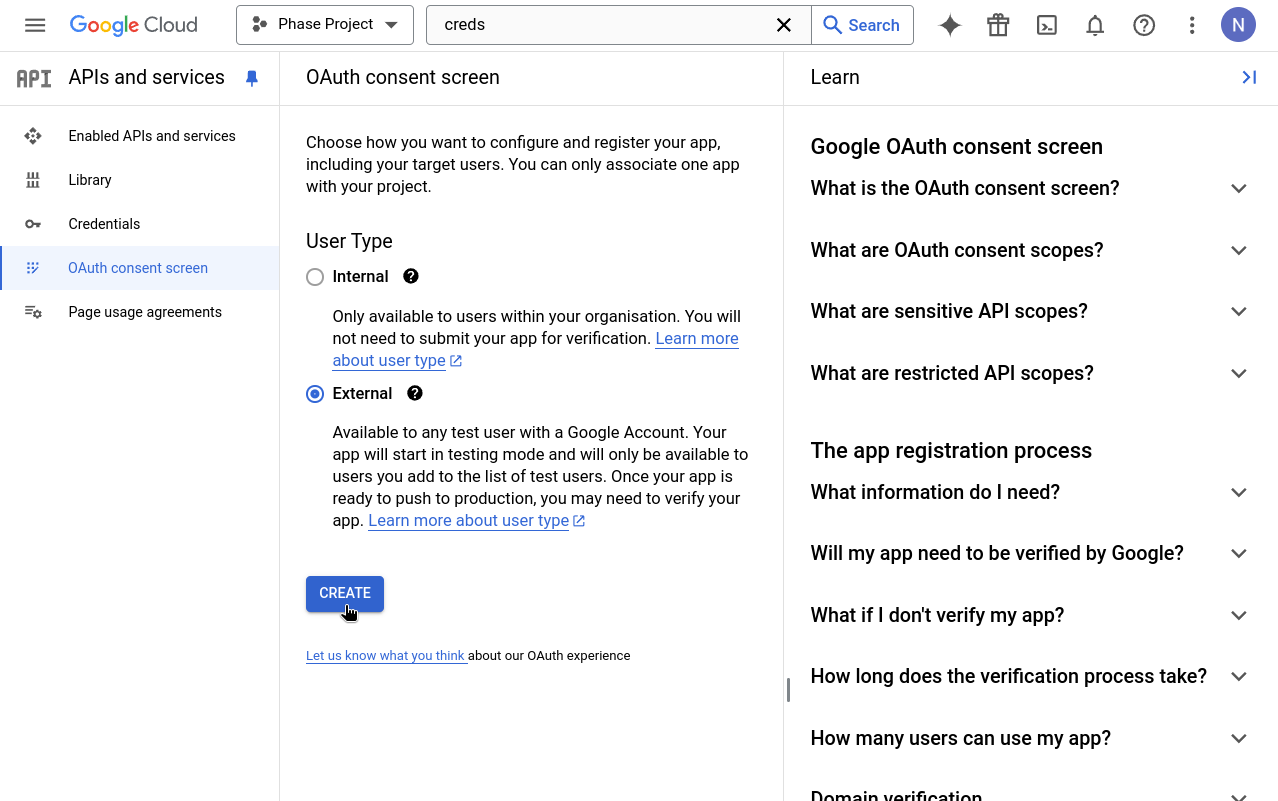
Choose "External" as the User Type for the OAuth consent screen.
-
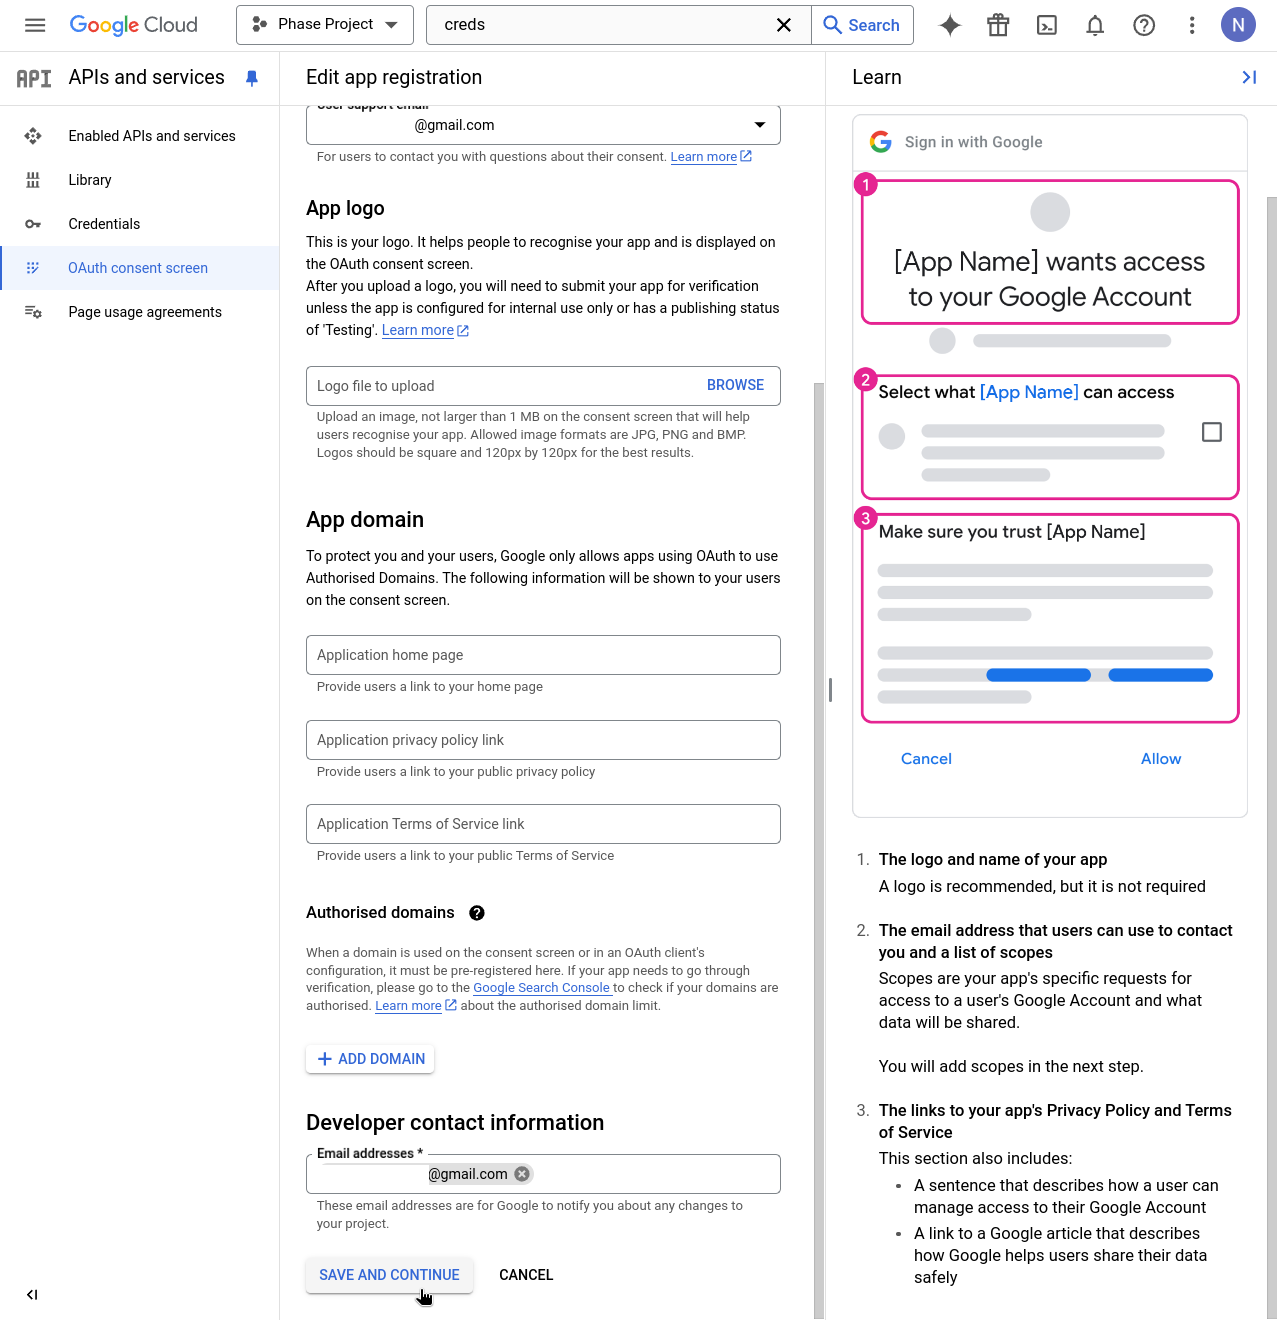
Enter details for mandatory fields such as App name, User support email, and Developer contact information. Click "SAVE AND CONTINUE".
-
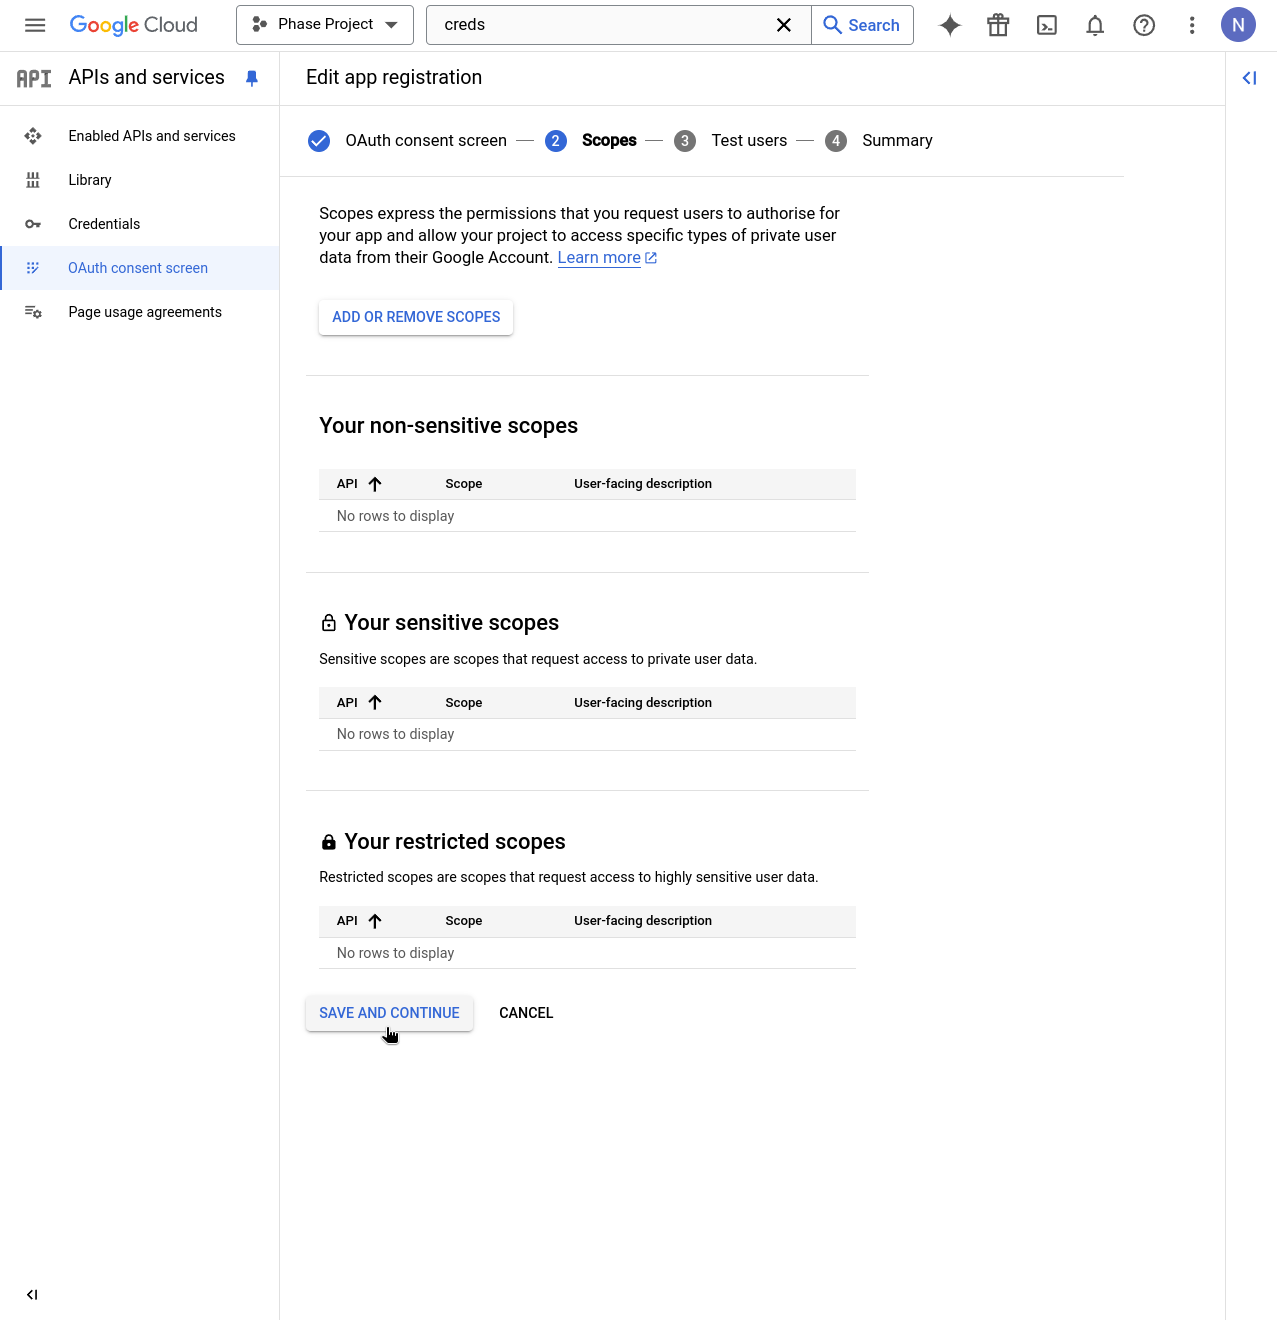
Continue through the Scopes step by clicking "SAVE AND CONTINUE".
-
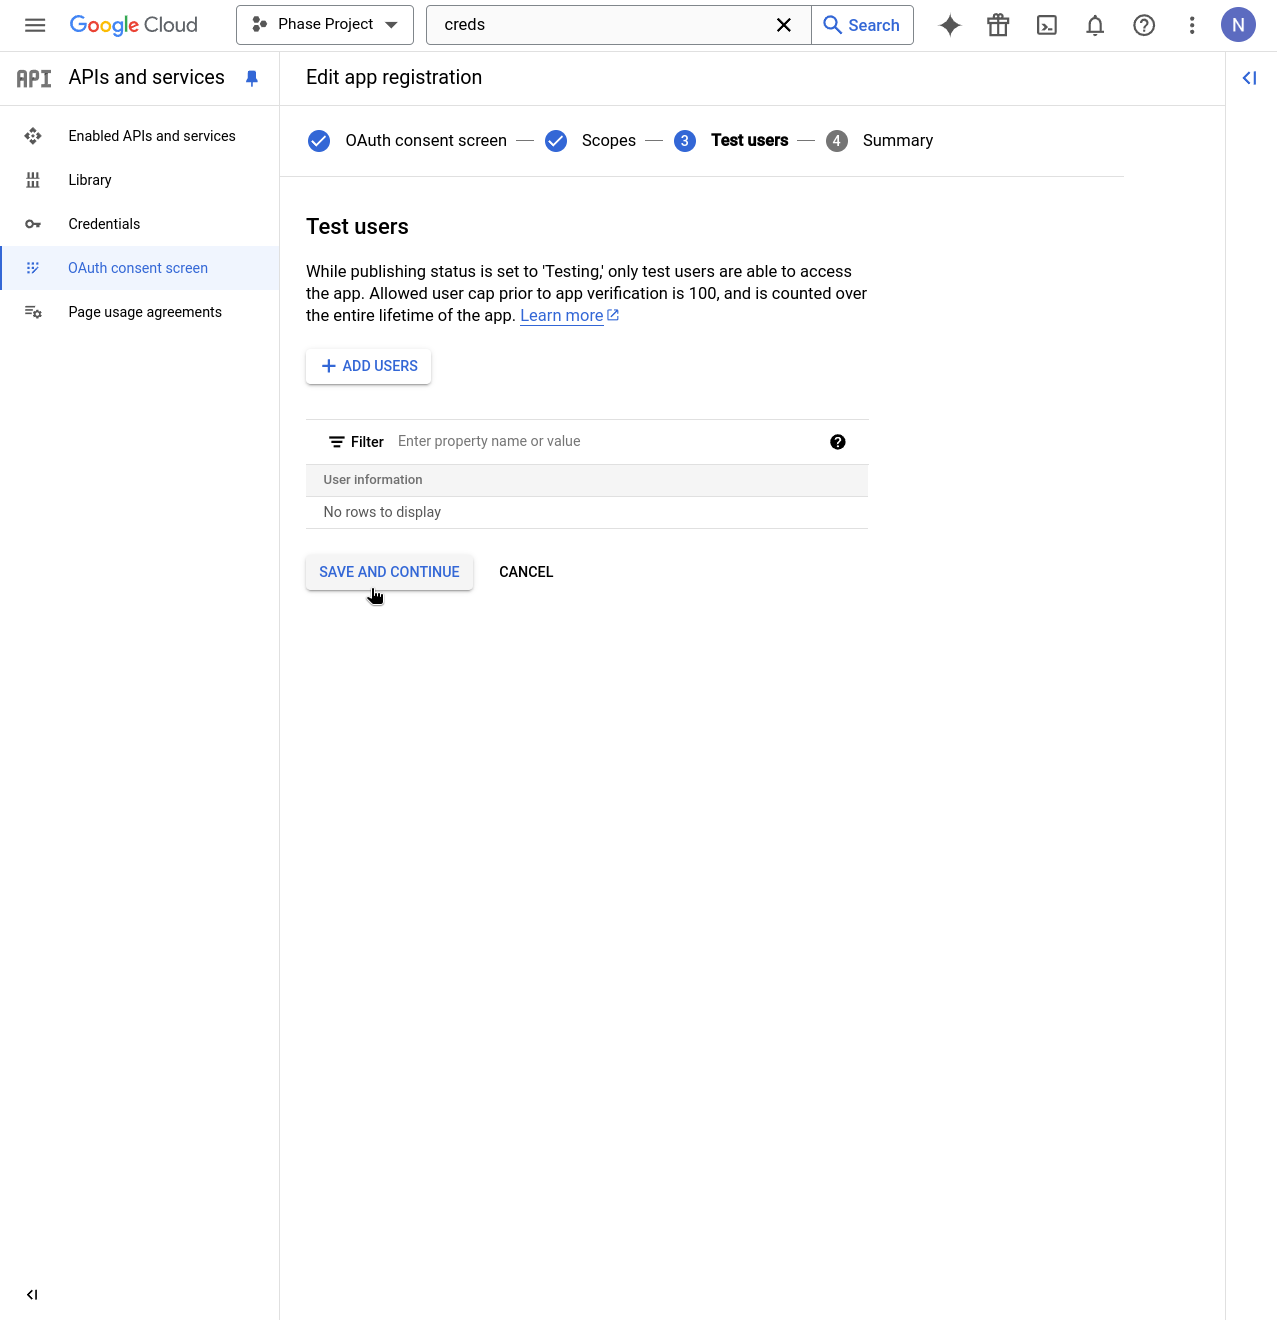
Continue through the Test user setup screen by clicking "SAVE AND CONTINUE".
-
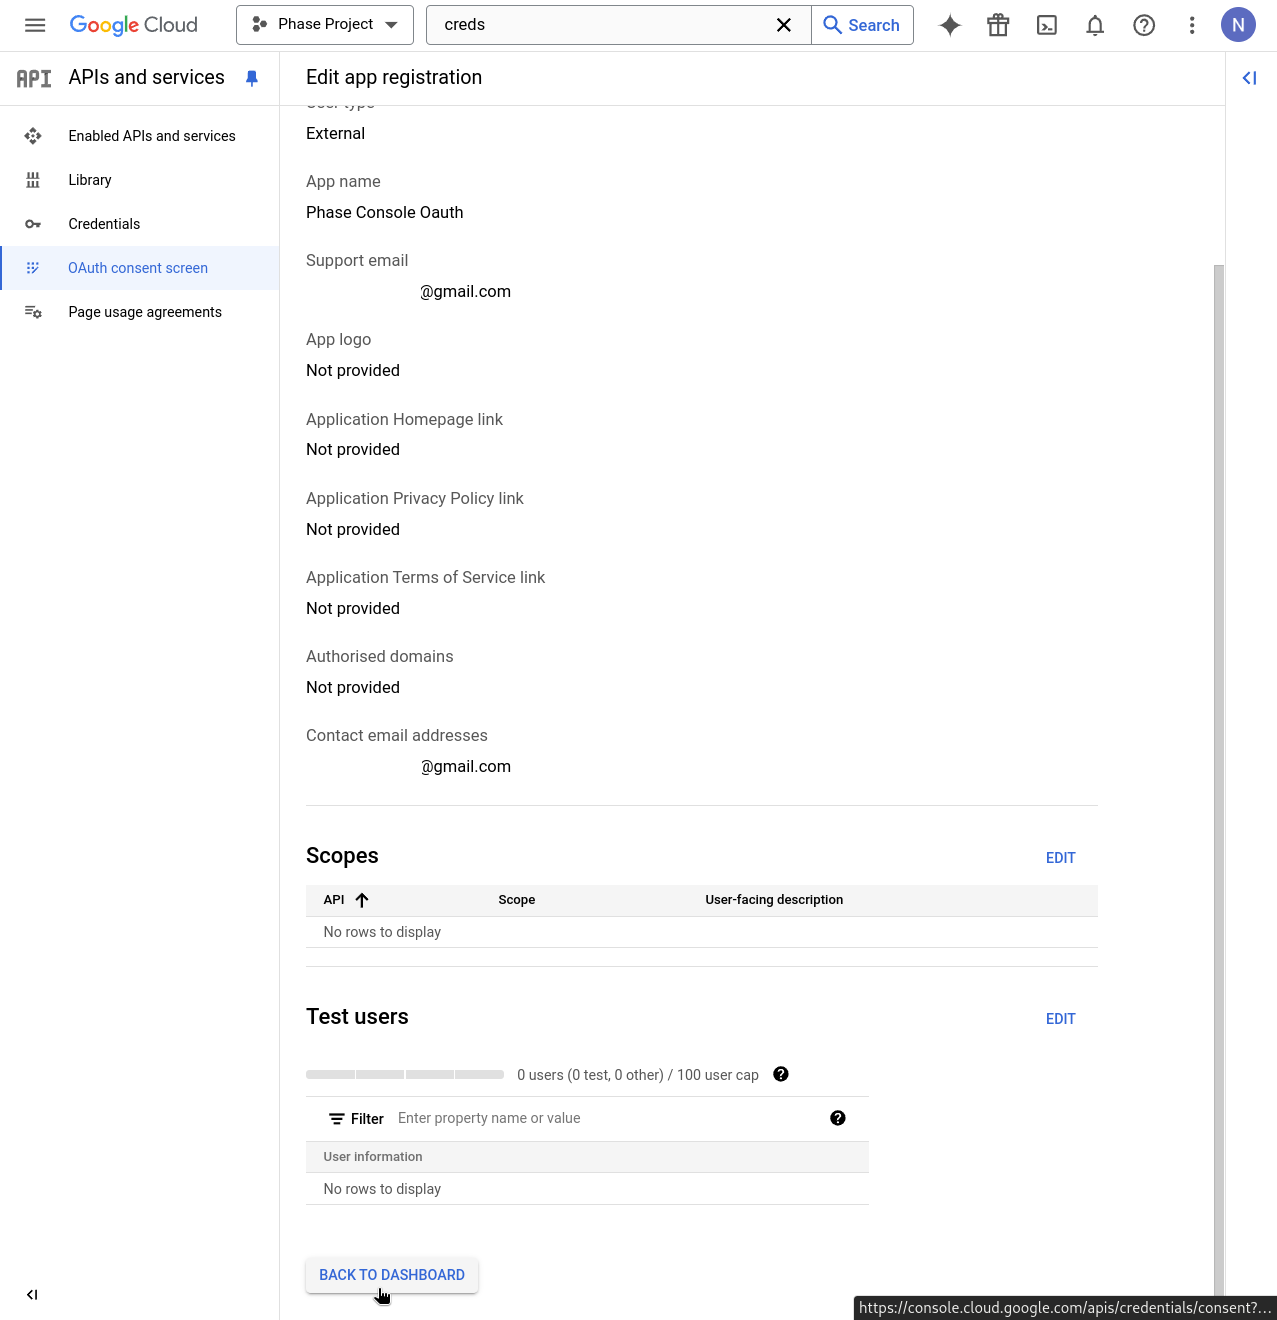
Review the details of your Consent screen app registration and click "BACK TO DASHBOARD".
-
In the APIs & Services dashboard, click "+ CREATE CREDENTIALS" and select "OAuth client ID" from the dropdown.
-
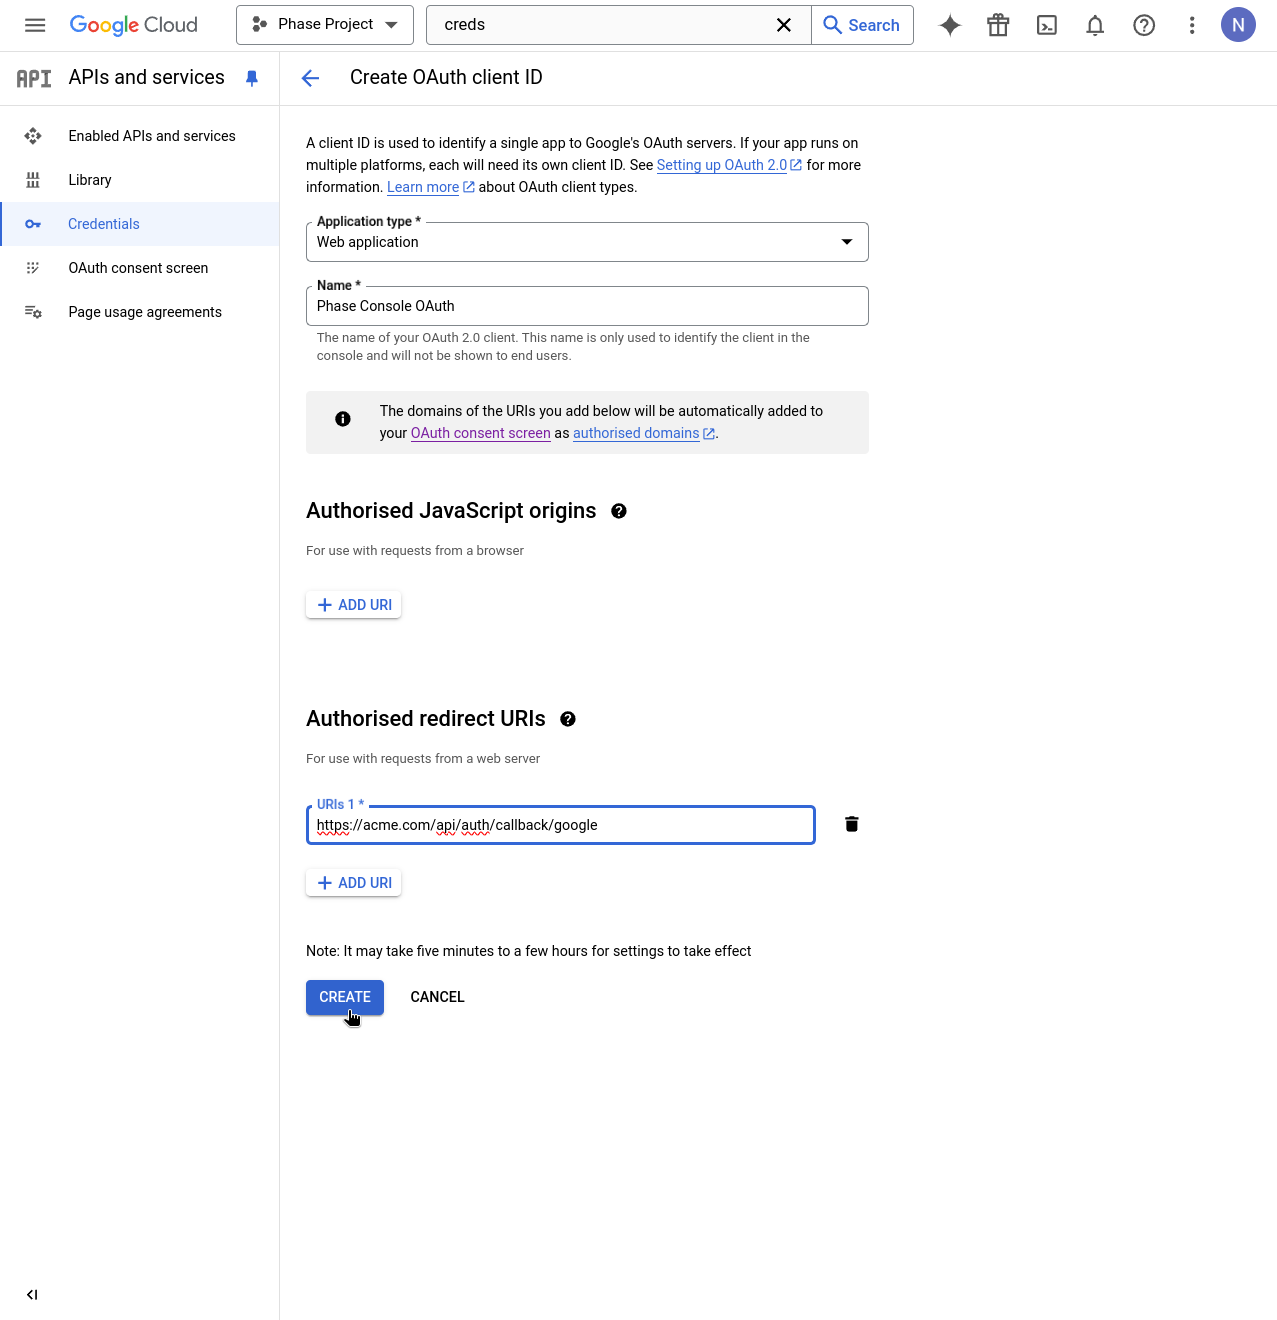
Fill in the application details:
- Name
Application type- Type
- string
- Description
Web application
- Name
Name- Type
- string
- Description
Phase Console
- Name
Authorised redirect URI- Type
- string
- Description
https://[**YOUR_DOMAIN**]/api/auth/callback/google
Then click "CREATE".
-
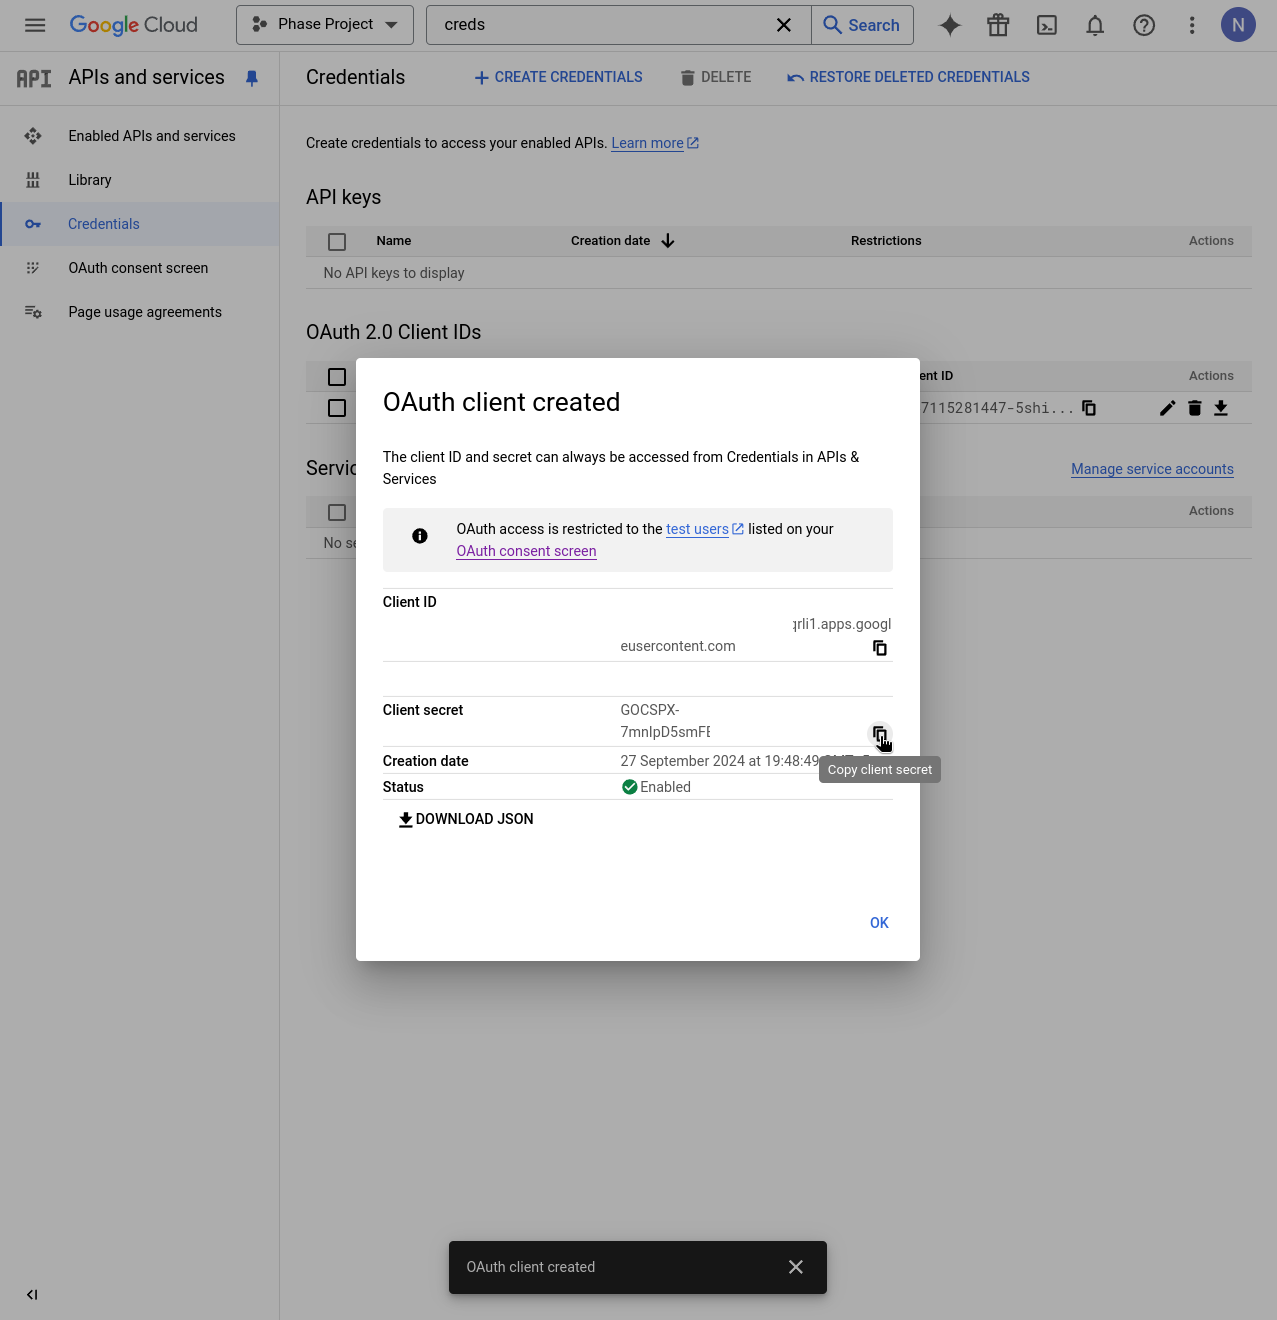
You will be presented with the OAuth Client ID and Client secret. Copy these by clicking the clipboard icon next to each.
-
Supply these credentials to your Phase Console deployment as environment variables.
You can find detailed official instructions for setting up SSO with a Google OAuth Application here.
GitHub
Follow these steps to set up GitHub SSO for your Phase application:
If you are using GitHub Enterprise Server (self-hosted) instance, you may follow the steps below to set up GitHub SSO for your Phase application as the instructions are nearly identical. The only exception being the Authorization callback URL.
GitHub Enterprise Server (self-hosted) instance for OAuth SSO is only available for organizations with an Enterprise tier subscription. See Pricing.
-
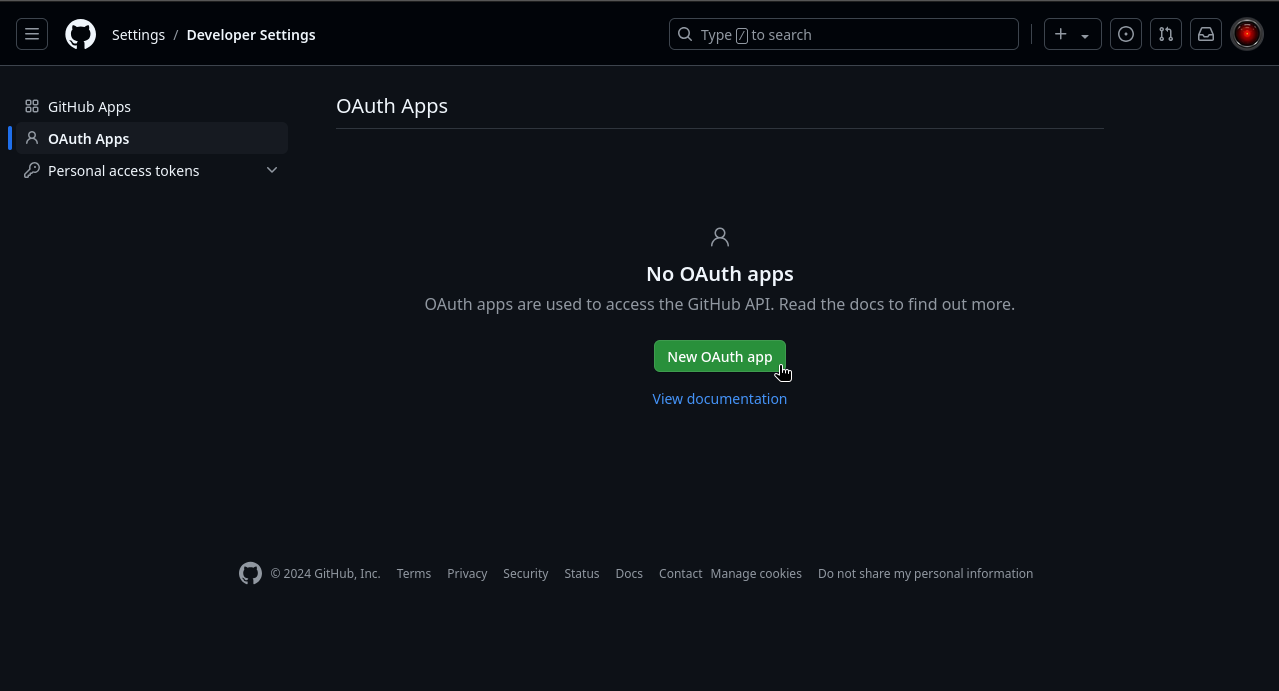
Log in to your GitHub account and go to OAuth Apps in Developer Settings.
-
Click "New OAuth App".
-
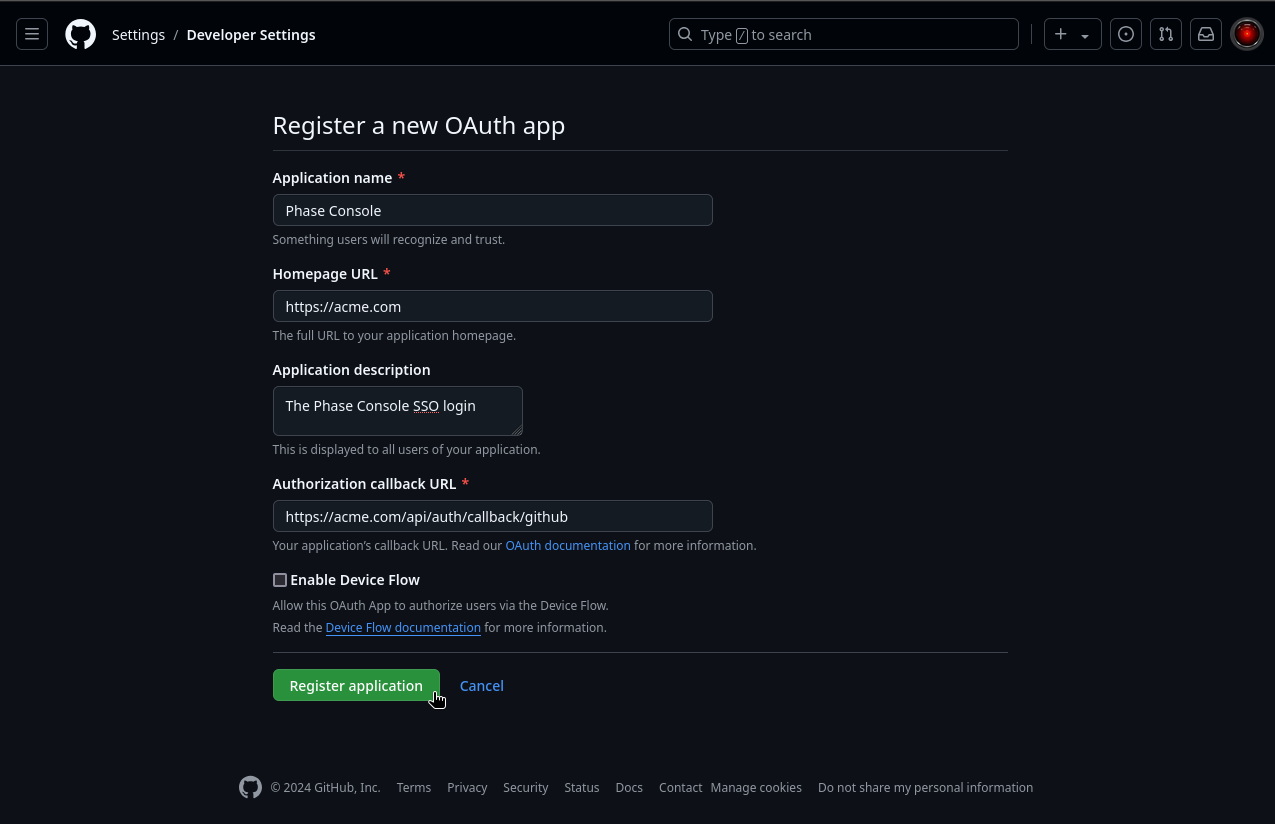
Fill in the application details:
- Name
Application name- Type
- string
- Description
Phase Console
- Name
Homepage URL- Type
- string
- Description
https://[**YOUR_DOMAIN**]
- Name
Authorization callback URL- Type
- string
- Description
For GitHub.com:
https://[**YOUR_DOMAIN**]/api/auth/callback/github
For GitHub Enterprise Server:https://[**YOUR_DOMAIN**]/api/auth/callback/github-enterprise
-
Click "Register application".
-
On the next screen, click "Generate a new client secret".
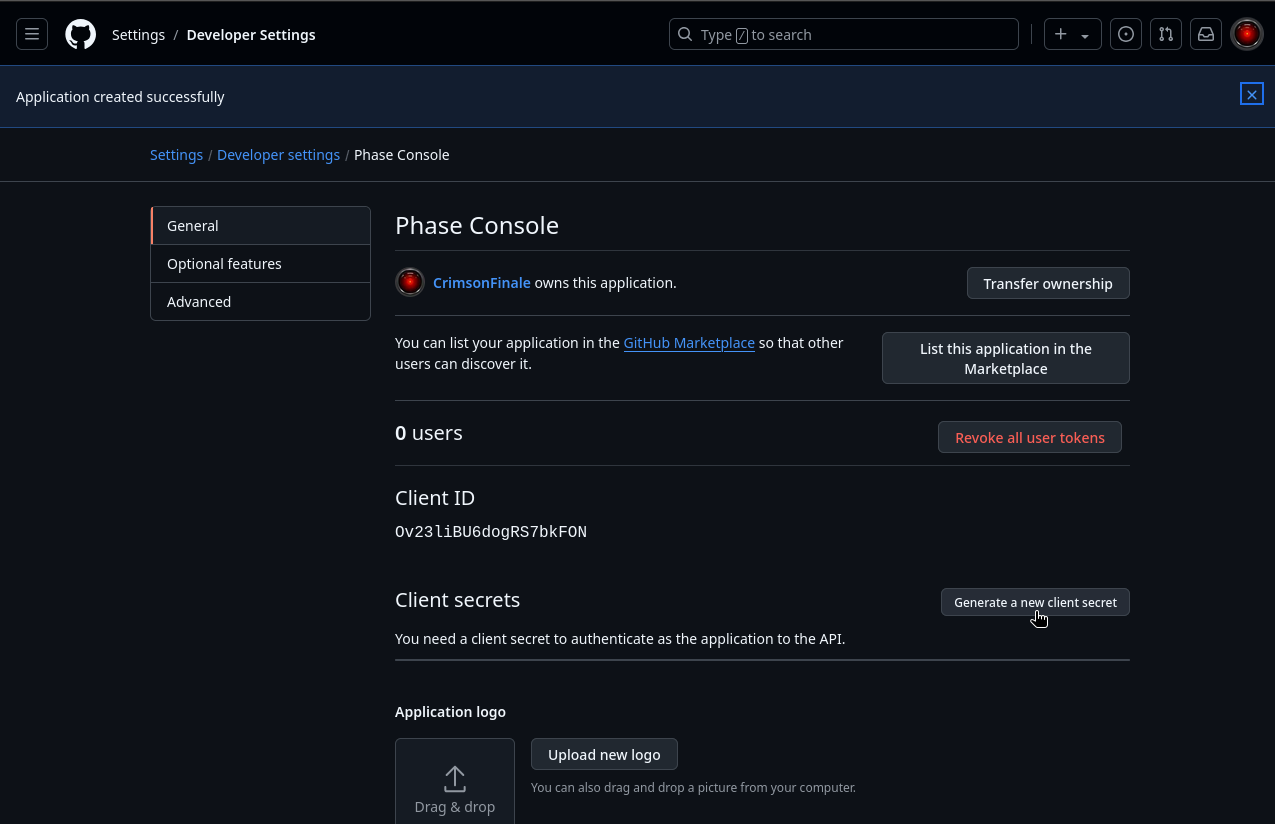
-
Copy the Client ID and newly generated Client Secret.

-
Supply these credentials to your Phase Console deployment as environment variables. If you are using GitHub Enterprise (self-hosted), supply the following configurations as environment variables.
You can find detailed official instructions for setting up SSO with a GitHub OAuth Application here.
GitLab
Follow these steps to set up GitLab SSO for your Phase application:
-
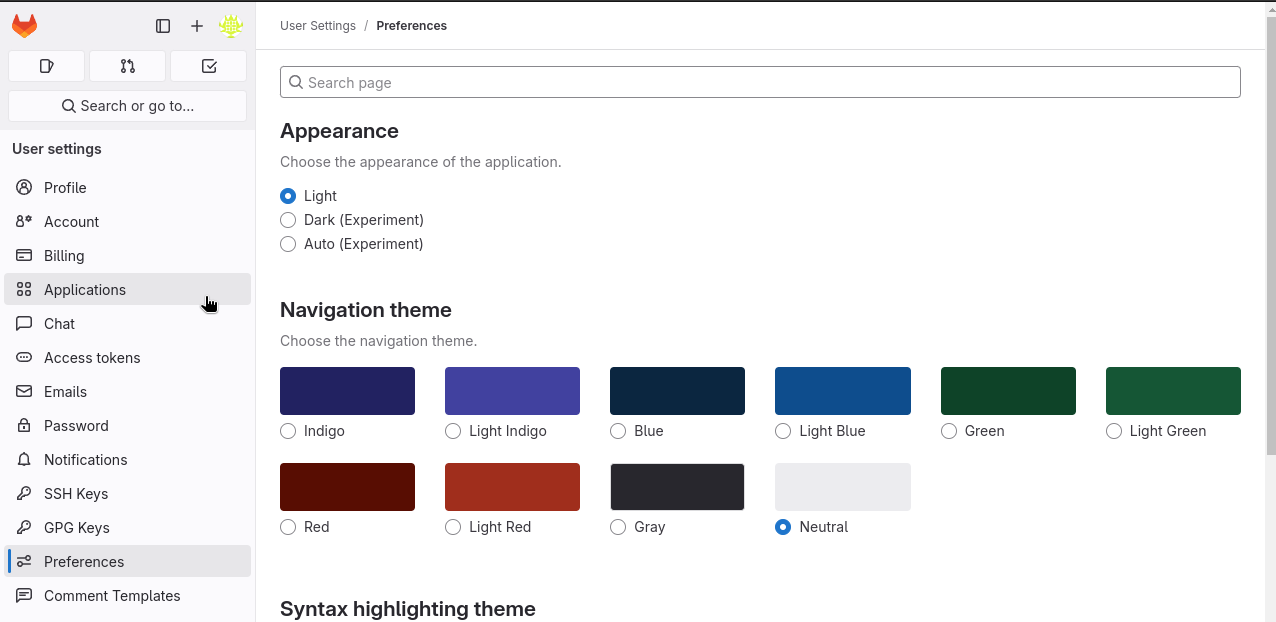
Log in to your GitLab account and go to User Preferences > Applications.
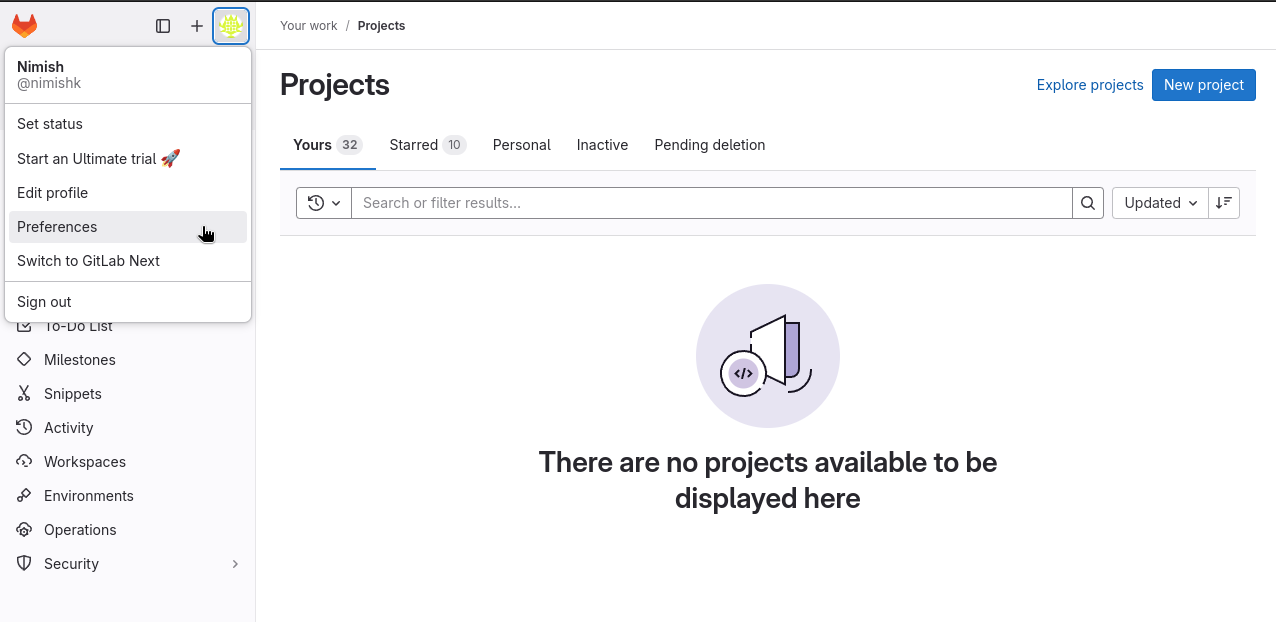
-
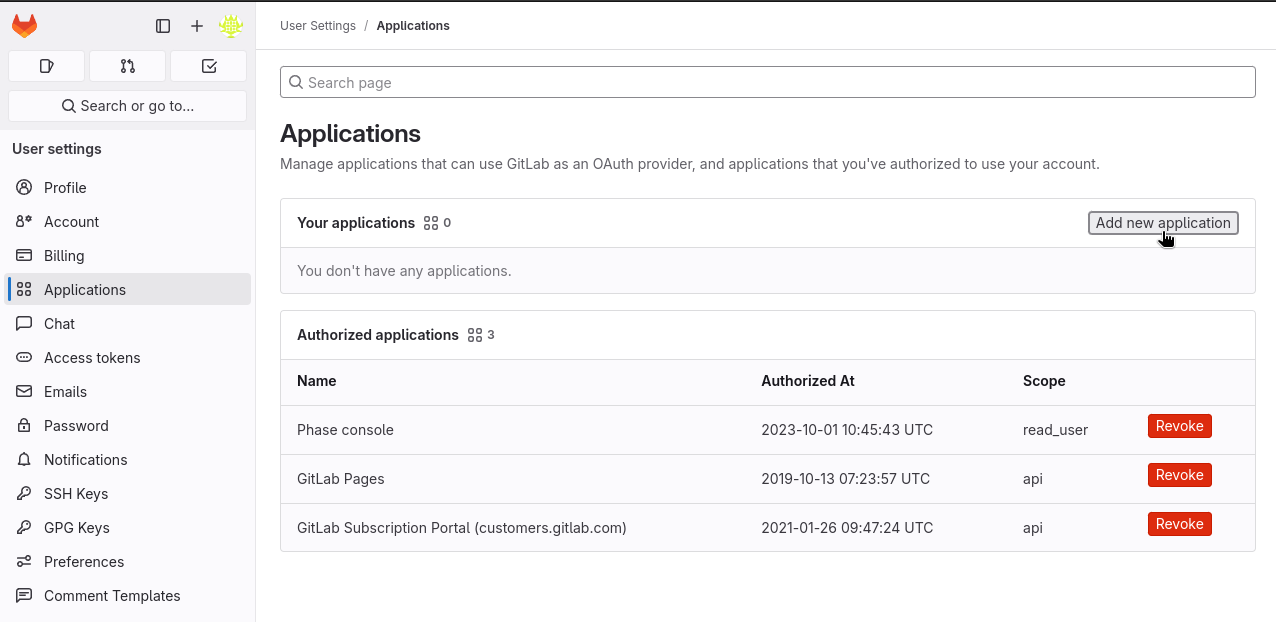
Click on "Add new application".
-
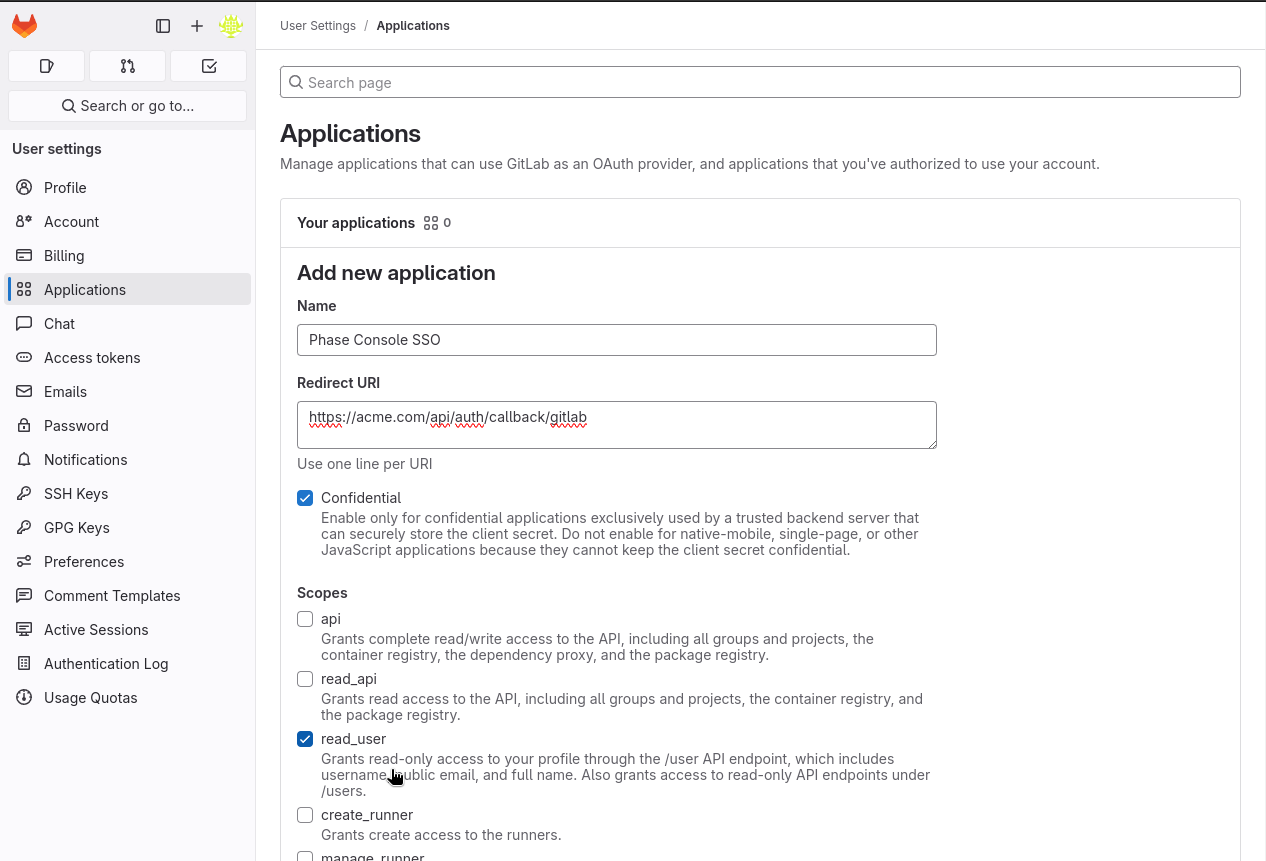
Fill in the application details:
- Name
Name- Type
- string
- Description
Phase Console SSO
- Name
Redirect URI- Type
- string
- Description
https://[**YOUR_DOMAIN**]/api/auth/callback/gitlab
- Name
Confidential- Type
- boolean
- Description
✓ (Check this box)
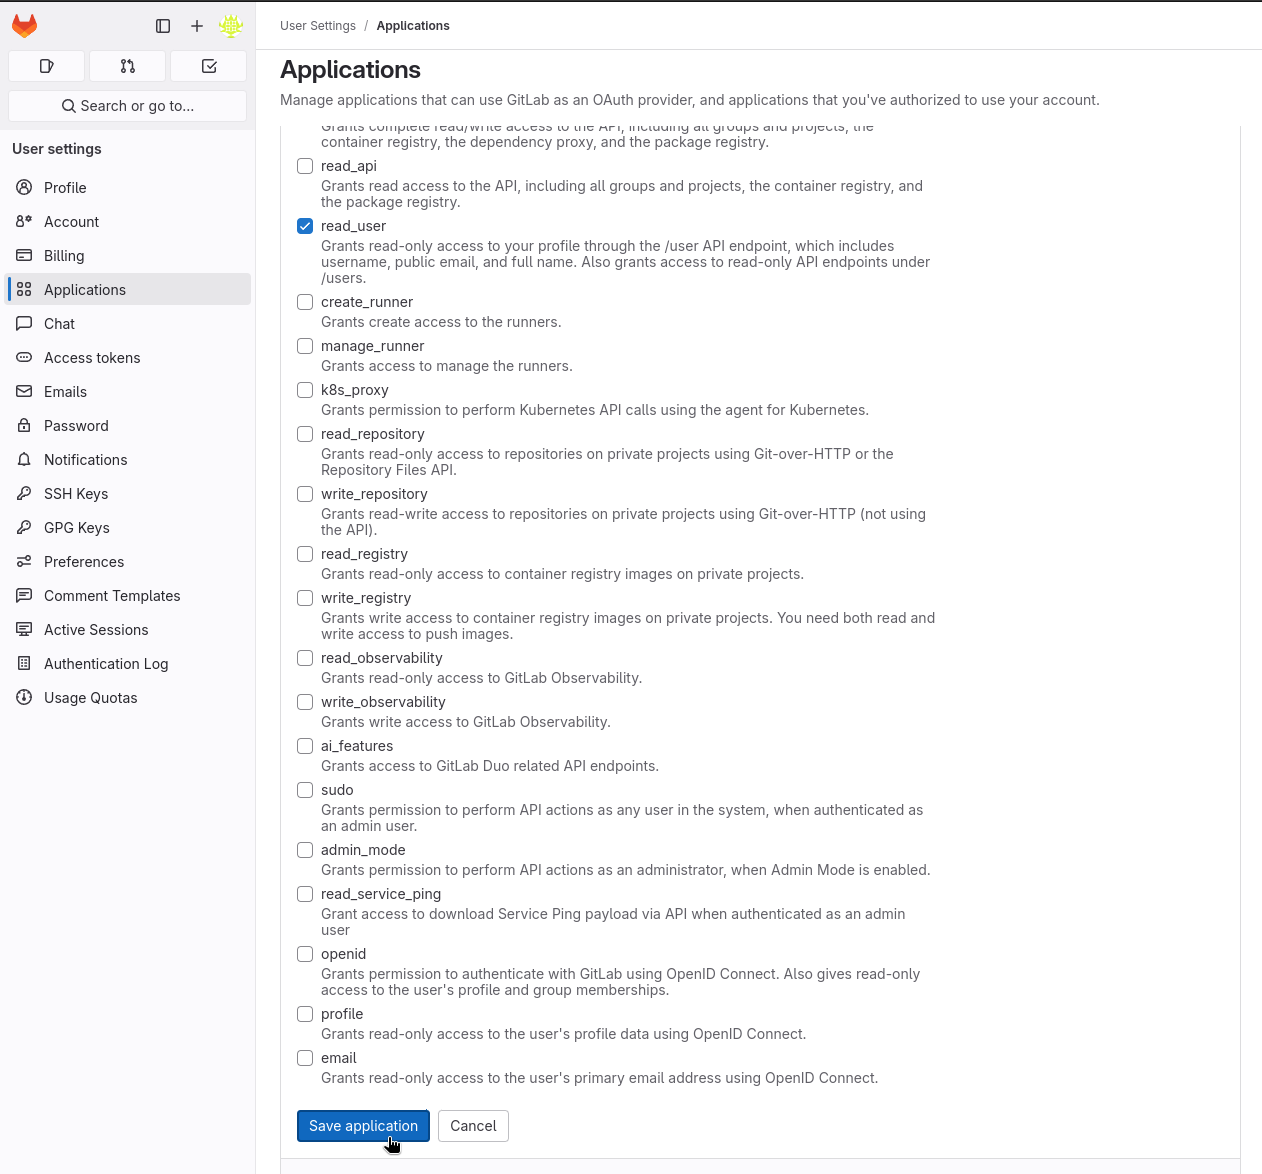
- Name
Scopes- Type
- string
- Description
read_user(The only scope required)
Make sure the application has the read_user scope. This grants read-only access to the user's profile through the /user API endpoint, which includes username, public email, and full name.
-
Click "Save application".
-
On the next screen, copy the Application ID and Secret.

-
Supply these credentials to your Phase Console deployment as environment variables.
You can use user-owned or group-owned applications to login to Phase. If you are running a self-hosted instance, you can also use an instance-wide application.
You can find detailed official instructions for setting up SSO with a GitLab OAuth Application here.
Authentik
You can integrate Authentik as an OIDC provider for your Phase instance. Follow these steps to set up Authentik SSO for Phase:
-
Sign in to your Authentik administrative interface.
-
From the left sidebar, click Applications.
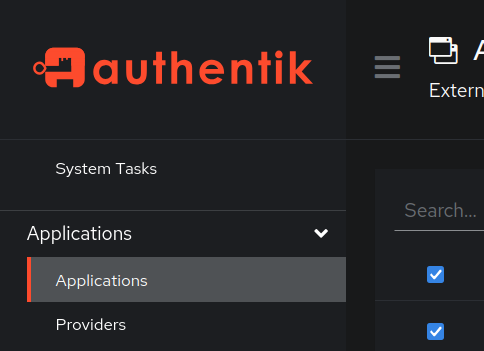
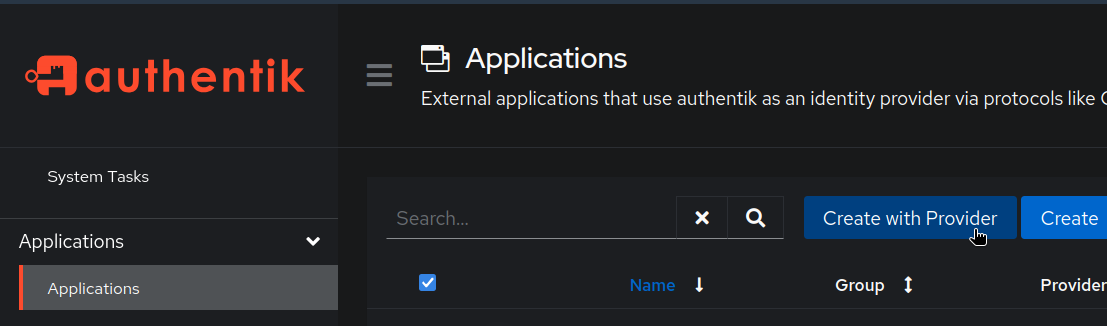
-
Click the Create with Provider button. You can also click the Create button if you want to create a new application first and configure the provider separately.
-
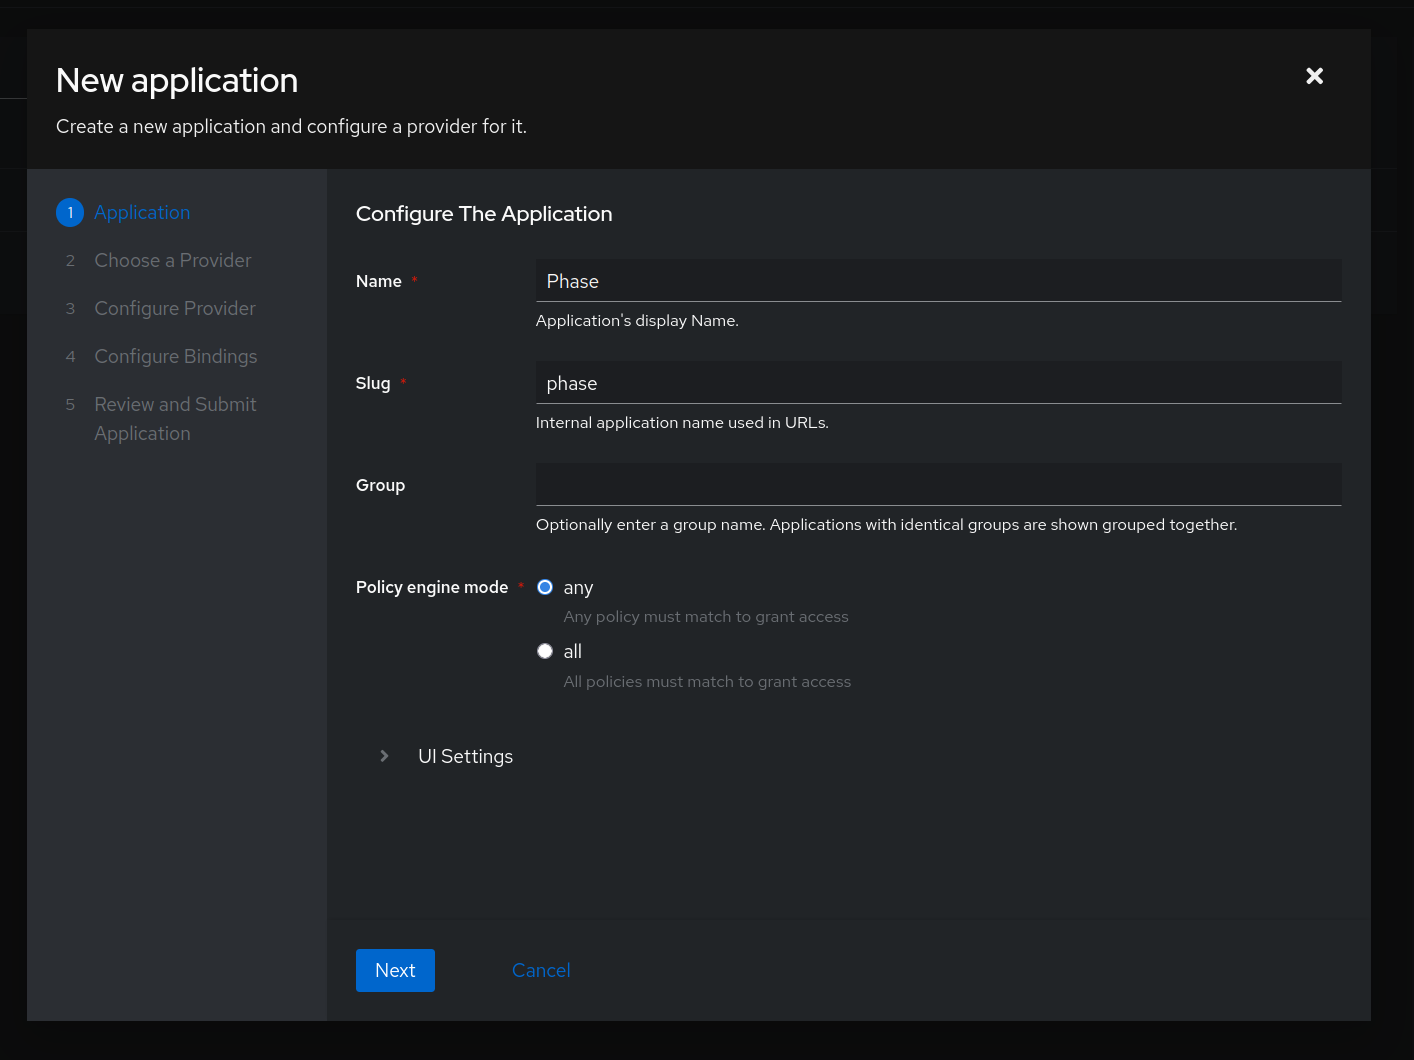
Provide the following values:
- Name: e.g.
Phase - Slug: e.g.
phase
Click Next
- Name: e.g.
-
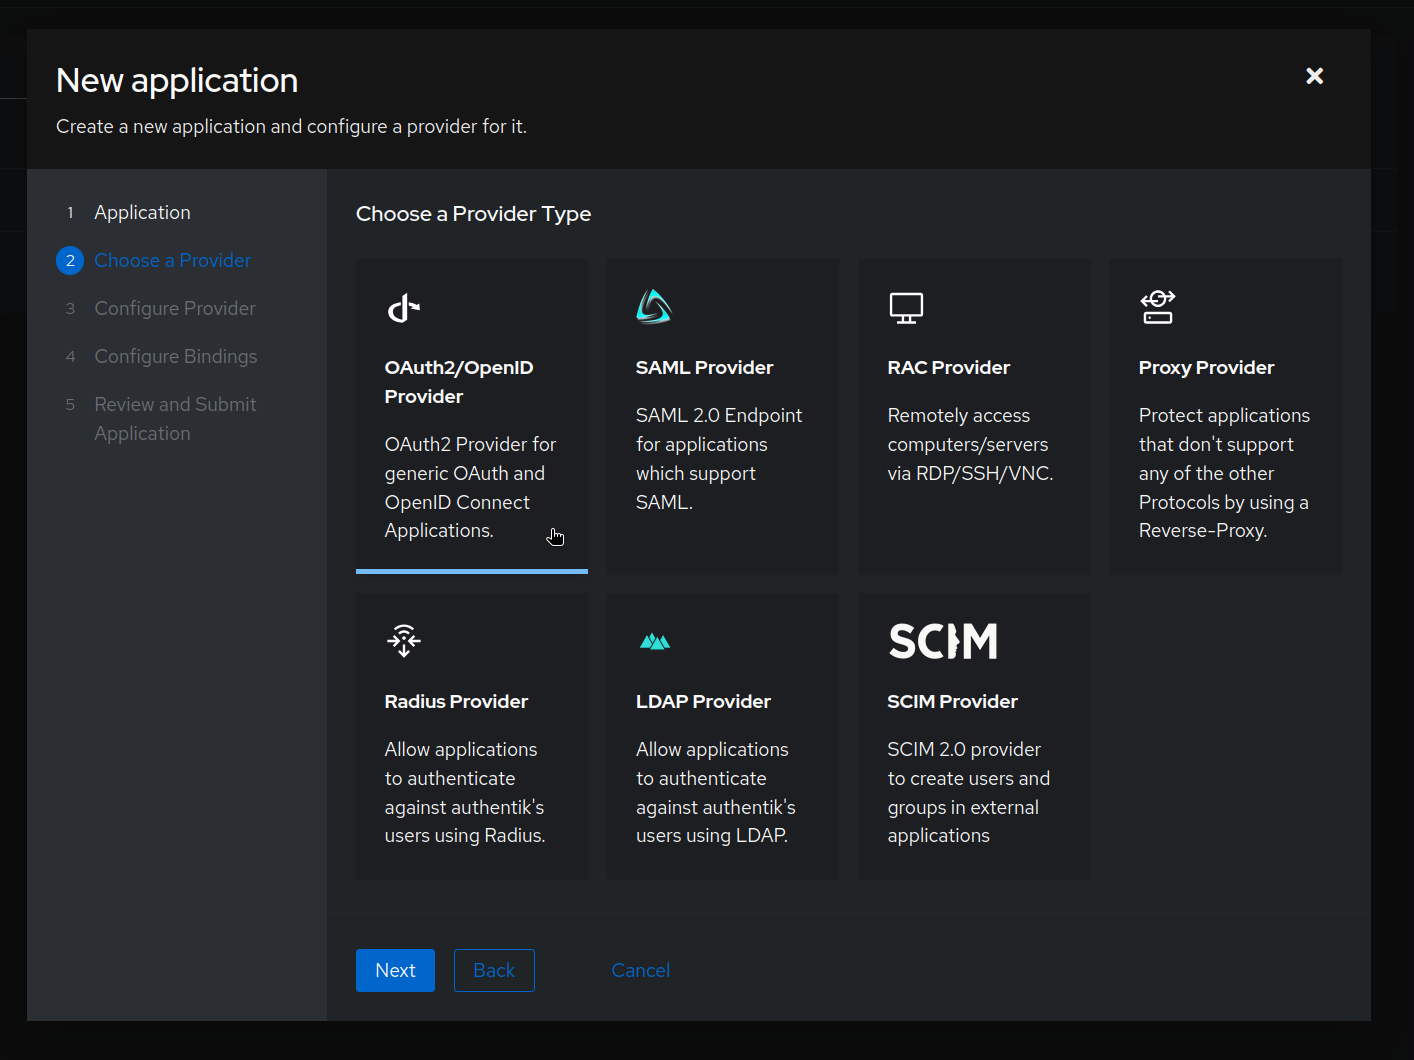
Select "OAuth2/OpenID Provider" and click Next.
-
Configure the provider:
- Name: e.g.
Provider for Phase - Authorization flow: Select
default-provider-authorization-explicit-consent - Signing Key: Choose an existing key or create a new one
- Client ID: Make a note of this value, as it will be used later as
AUTHENTIK_CLIENT_ID - Client Secret: Make a note of this value, as it will be used later as
AUTHENTIK_CLIENT_SECRET - Redirect URIs: This will be the hostname of your Phase instance, followed by:
/api/auth/callback/authentik(e.g.,
https://[YOUR_PHASE_HOST]/api/auth/callback/authentik).- Click Next
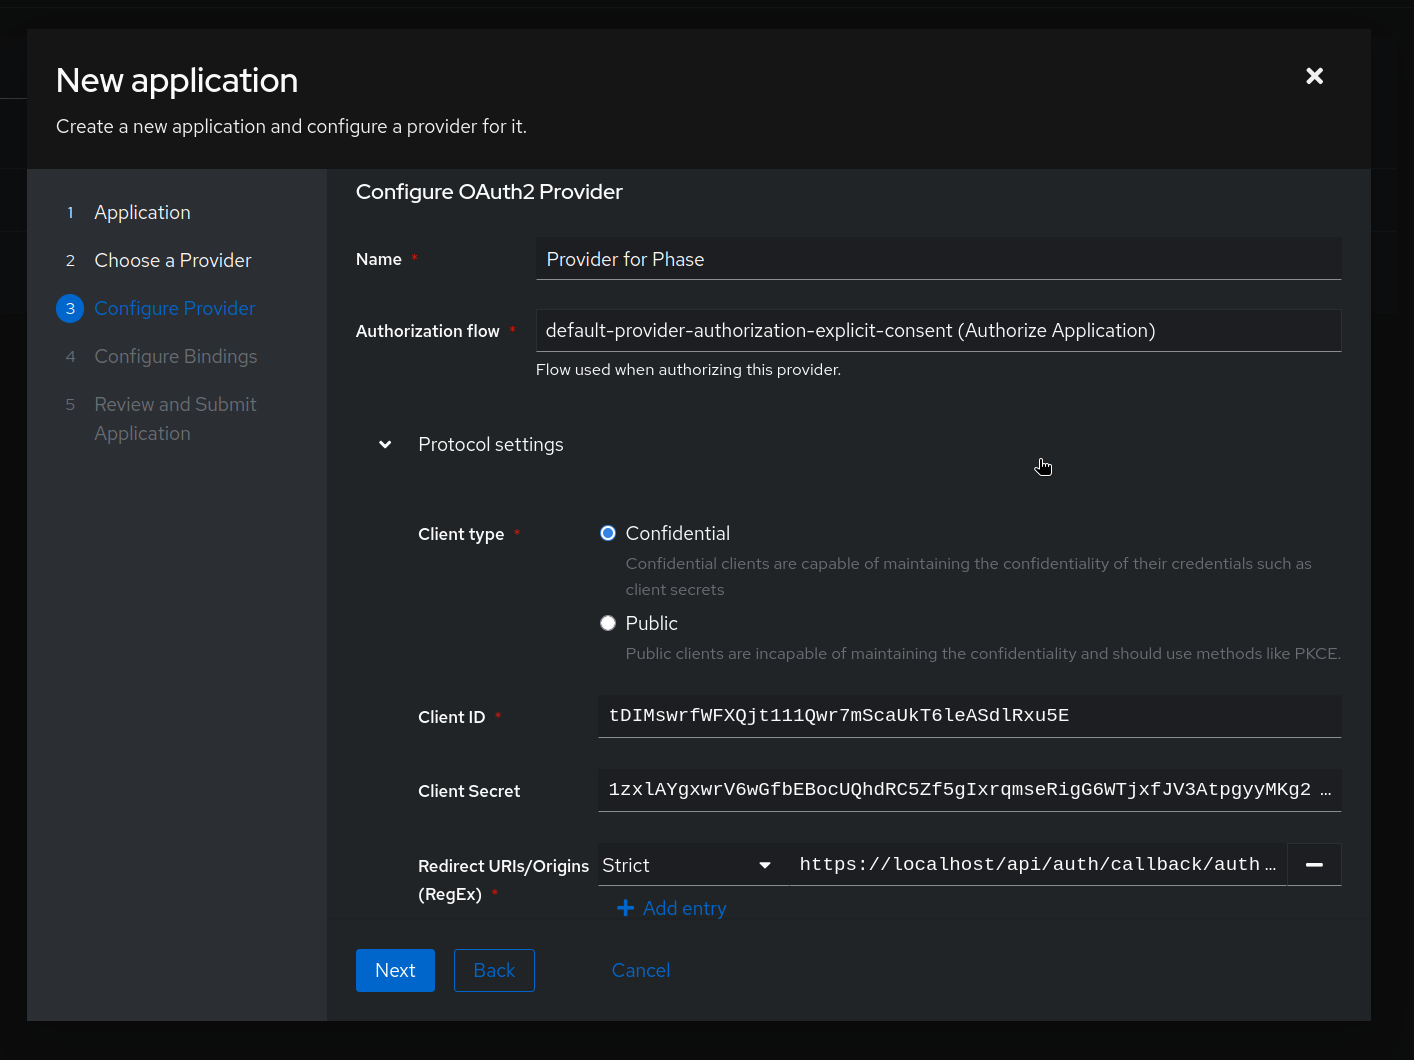
- Name: e.g.
-
Configure Bindings for the application. This will control which users can log in to Phase using this provider. Please see the authentik docs on application management for more information on this. In the example below, we are binding the application to the
Phase Usersgroup.
-
Click Next to review your configuration, then click Create to finalize the application setup.
-
Supply these credentials to your Phase Console deployment as environment variables:
AUTHENTIK_CLIENT_IDAUTHENTIK_CLIENT_SECRETAUTHENTIK_URLAUTHENTIK_APP_SLUG
Please see deployment configuration for more details.
Your Authentik SSO application is now configured! You can now provision user access to your Phase instance via Authentik.
For more detailed information about Authentik application and OIDC configuration, refer to the Authentik documentation.
Troubleshooting: Authentik SSO
Issue: Redirect URI Mismatch
If you receive an error like:
redirect_uri_mismatch
Ensure that the redirect URI configured in Authentik exactly matches:
https://[YOUR_PHASE_HOST]/api/auth/callback/authentik
Authelia
You can use Authelia as a self-hosted OIDC provider to set up SSO for your Phase instance. Follow these steps to configure Authelia as an OIDC provider:
-
Configure the OIDC identity provider in your Authelia
configuration.ymlfile. You'll need to generate an RSA private key for signing JWTs. -
Add a client configuration for Phase Console to the
clientslist:identity_providers: oidc: jwks: - key: | -----BEGIN RSA PRIVATE KEY----- <your-rsa-private-key-here> -----END RSA PRIVATE KEY----- clients: - client_id: 'phase-console' client_name: 'Phase Console' client_secret: '<bcrypt-hashed-secret>' public: false authorization_policy: one_factor token_endpoint_auth_method: 'client_secret_post' redirect_uris: - 'https://[YOUR_PHASE_HOST]/api/auth/callback/authelia' scopes: - openid - profile - email userinfo_signed_response_alg: noneThe
token_endpoint_auth_method: 'client_secret_post'setting is required for Phase Console compatibility. Phase Console's OIDC client uses theclient_secret_postmethod for token endpoint authentication. -
Generate a bcrypt hash for your client secret using the Authelia Docker image:
docker run authelia/authelia:latest authelia crypto hash generate bcrypt --password 'your-client-secret' -
Set the redirect URI to match your Phase Console deployment. The pattern is:
/api/auth/callback/authelia Example:
https://phase.example.com/api/auth/callback/authelia -
Supply these credentials to your Phase Console deployment as environment variables:
AUTHELIA_CLIENT_ID- The client ID (e.g.,phase-console)AUTHELIA_CLIENT_SECRET- The plaintext client secret (not the bcrypt hash)AUTHELIA_URL- Your Authelia instance URL (e.g.,https://auth.example.com)
Please see deployment configuration for more details.
Your Authelia SSO integration is now configured! Users can access Phase through Authelia's authentication portal.
For more detailed information about Authelia OIDC configuration, refer to the official Authelia documentation.